
Affordable Innovation: 5 Cost-Effective Prototyping Methods
TL;DR
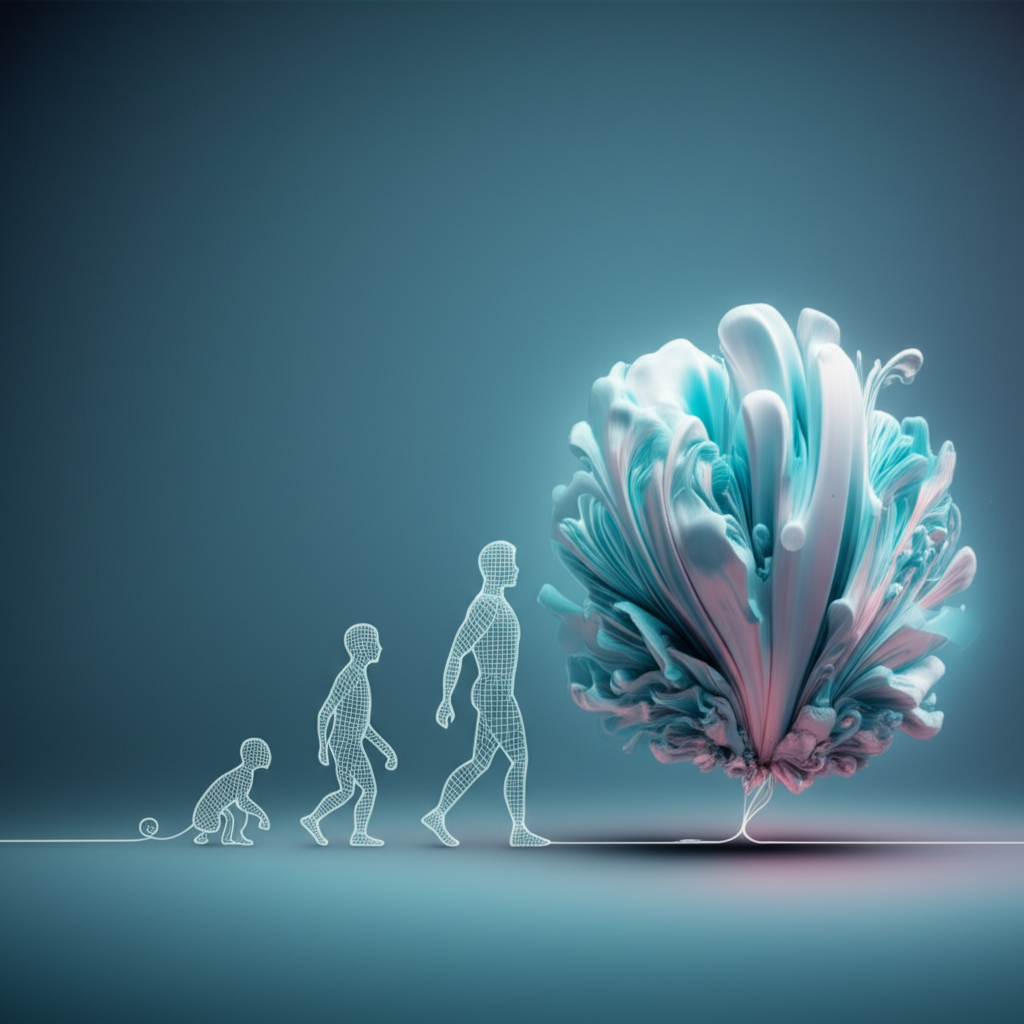
Cost-effective prototyping methods are essential for turning an idea into a reality without breaking the bank. These techniques range from simple paper sketches and digital wireframes to affordable 3D printing, all designed to test and validate concepts early. The primary goal is to gather feedback, refine designs, and resolve potential issues affordably before committing to expensive, full-scale production.
The Foundation: Low-Fidelity & Manual Prototypes
The journey of product development often begins with the simplest and most accessible tools. Low-fidelity prototypes are the bedrock of cost-effective innovation, allowing you to explore ideas quickly and cheaply. These methods are perfect for the early stages of ideation, where the goal is to visualize concepts and gather initial feedback without investing significant time or money. They answer the fundamental question: "What is the cheapest way to make a prototype?" by using materials that are readily available.
Paper sketches are the quintessential starting point. With just a pen and paper, you can outline user interfaces, product shapes, and workflows in minutes. This method is incredibly fast, allowing for dozens of variations in a single session. Similarly, physical mockups using materials like cardboard, foam core, clay, or even LEGO bricks can give a tangible sense of a product's size, shape, and ergonomics. As noted in a guide by StudioRed, foam mock-ups can start at just $100 and are ideal for quick visualization. These non-functional models are invaluable for testing how a user might physically interact with a device, providing insights that a digital model cannot.
The key benefits of these manual methods are undeniable. They are characterized by:
- Extremely Low Cost: Materials are often everyday items, making this the most budget-friendly approach.
- Speed: Ideas can be translated into a testable format in hours, if not minutes, accelerating the feedback loop.
- Accessibility: No special skills or software are required, making it an inclusive process for the entire team.
- Flexibility: Changes can be made on the fly, encouraging experimentation and iteration without penalty.
These methods are best suited for brainstorming and initial concept validation. They help teams align on a vision and identify major usability issues before any code is written or complex modeling begins. By starting with low-fidelity prototypes, you ensure that your foundational ideas are solid, saving immense resources down the line.
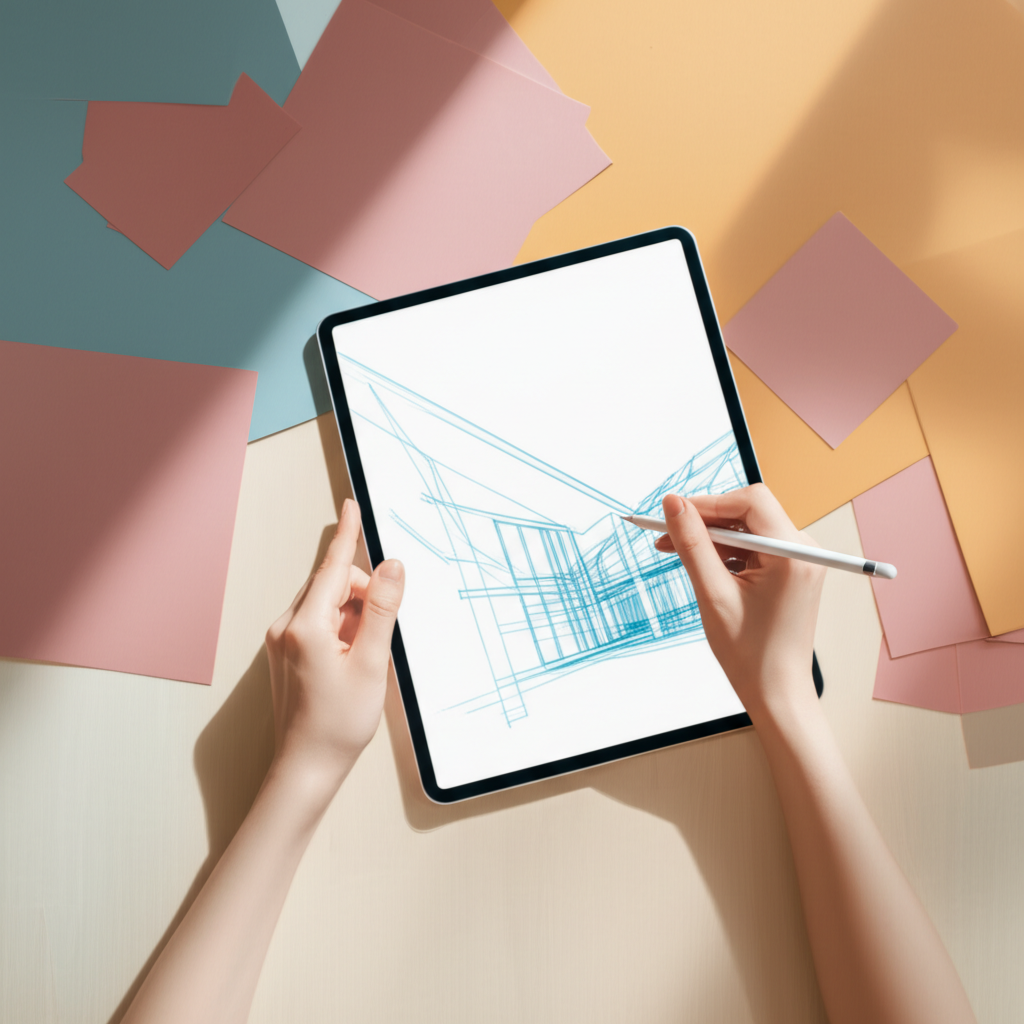
Digital Mockups: Visualizing Concepts on Screen
Once your initial ideas have taken shape on paper, the next logical step is to bring them into the digital realm. Digital mockups and wireframes offer a higher level of fidelity and functionality without the complexity of full development. These on-screen representations bridge the gap between a rough sketch and a working prototype, allowing for more detailed feedback on user flow, layout, and visual design. They are a cost-effective way to refine and share your vision with stakeholders and potential users.
Wireframing tools allow you to create simple, black-and-white layouts of your app or website, focusing purely on structure and functionality. This step is crucial for planning the user journey and information architecture. From there, you can move to digital mockups, which add color, typography, and branding to create a static but realistic visual of the final product. Many modern tools even allow you to create clickable or interactive mockups, simulating the user experience without writing a single line of code. This provides a powerful way to test usability and gather feedback on the product's feel and flow.
The primary advantage of digital mockups is their shareability and ease of iteration. Unlike paper sketches, digital files can be sent to anyone, anywhere, for immediate feedback. Changes can be made quickly, and multiple versions can be tested simultaneously. This process helps refine the user interface (UI) and user experience (UX) before investing in more expensive development stages, ensuring the final product is both intuitive and visually appealing.
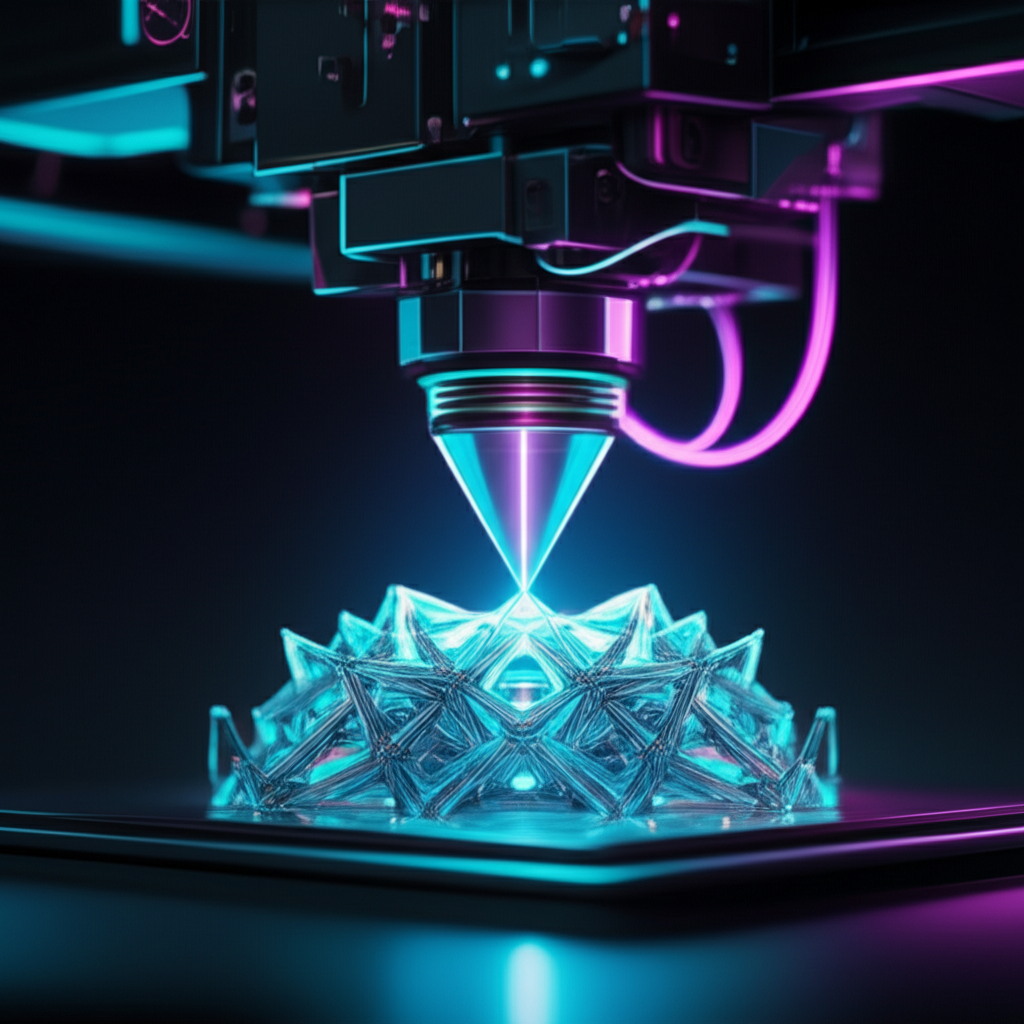
The Game Changer: Affordable 3D Printing
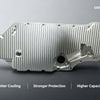
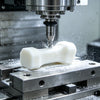
For physical products, no technology has revolutionized cost-effective prototyping more than 3D printing. Also known as additive manufacturing, 3D printing builds a physical object layer by layer from a digital CAD (Computer-Aided Design) file. This process has become a cornerstone of rapid prototyping because it allows designers and engineers to create tangible, functional models quickly and affordably, transforming the development cycle.
Traditionally, creating a physical prototype required subtractive manufacturing methods like CNC machining or creating expensive molds for injection molding. These processes are time-consuming and costly, especially for a single unit. As explained in a guide from Formlabs, 3D printing eliminates the need for tooling, allowing for the production of custom parts with complex geometries at a fraction of the cost and time. This makes it possible to create and test dozens of iterations, refining the design with each print.
The benefits of using 3D printing for prototyping are significant:
- Speed: A prototype can often be printed overnight, compared to the weeks it might take with traditional methods.
- Cost-Effectiveness: It is significantly cheaper for low-volume runs, as there are no tooling or setup costs.
- Flexibility: Designs can be tweaked in the CAD software and a new version printed immediately, facilitating a highly iterative process.
- Material Variety: A wide range of plastics and resins are available that can simulate the properties of final production materials, from rigid and durable to flexible and soft-touch.
This technology is invaluable for validating the form, fit, and function of a part. Engineers can test how components assemble, check for ergonomic comfort, and even perform light functional testing. By identifying design flaws early with 3D-printed models, companies can avoid costly modifications to production tooling down the line. As Product QuickStart points out, this ability to uncover flaws before production is a key advantage. It empowers innovators to get their products to market faster and with greater confidence in their design.
Advanced & Alternative Methods on a Budget
Beyond the common methods, several other creative and cost-effective techniques can help validate a product concept. The "Wizard of Oz" prototype is a clever approach where a user interacts with a system that appears fully functional, but is secretly being operated by a human behind the scenes. This is perfect for testing complex software or AI-driven products without building the actual backend, allowing you to gather realistic user feedback on the experience itself.
Another powerful option is leveraging low-code or no-code platforms. These tools enable you to build functional web or mobile app prototypes with minimal to no programming knowledge. By using drag-and-drop interfaces and pre-built modules, you can create a working model that demonstrates core functionality, making it an excellent choice for testing an MVP (Minimum Viable Product) with real users.
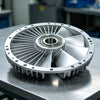
For more advanced physical parts requiring high precision, CNC machining offers a step up from 3D printing. While traditionally more expensive, it's essential for prototypes that need to be made from production-grade metals or plastics with tight tolerances. For teams needing this level of accuracy, specialized services can be a cost-effective solution. For instance, if your project requires high-precision custom parts, exploring high-precision CNC machining services can provide components for functional testing that meet demanding specifications. Finally, digital simulation tools, as highlighted by SPK and Associates, allow engineers to test structural, thermal, and fluid dynamics in a virtual environment, saving the material and cost of building multiple physical test units.
How to Choose the Right Prototyping Method
Selecting the best prototyping method depends entirely on your project's specific goals, budget, and current stage of development. There is no one-size-fits-all answer; the most effective approach is one that provides the necessary feedback to move to the next stage without over-investing resources. Consider factors like the fidelity you require, whether you need to test functionality or just aesthetics, and how quickly you need to iterate.
To help guide your decision, the table below compares the methods discussed based on key criteria. Use it to match your needs with the most suitable technique, ensuring you invest your time and money wisely to validate your idea and move forward with confidence.
| Method | Relative Cost | Speed | Best For (Use Case) |
|---|---|---|---|
| Paper Sketches & Manual Mockups | Very Low ($) | Very Fast (Hours) | Early-stage brainstorming, concept exploration, and workflow validation. |
| Digital Mockups & Wireframes | Low ($$) | Fast (Days) | Visualizing UI/UX, testing user flows, and sharing designs with stakeholders. |
| 3D Printing | Moderate ($$$) | Fast (Days) | Creating physical models to test form, fit, ergonomics, and light function. |
| Wizard of Oz & Low-Code | Low-Moderate ($$-$$$) | Moderate (Days-Weeks) | Testing complex user interactions and software functionality without full development. |
| CNC Machining | High ($$$$) | Moderate (Weeks) | High-fidelity functional prototypes requiring production-grade materials and precision. |
Ultimately, the best strategy is often a hybrid one. Start with low-cost paper and digital methods to refine your core concept, then move to 3D printing to validate the physical form, and only invest in higher-cost methods when you have a well-vetted design. This phased approach minimizes risk and maximizes learning at every step of the product development journey, especially for projects like medical devices where careful planning is key, a point emphasized by C3 Medical Device Consulting.
Frequently Asked Questions
1. What is the fastest and most cost-effective prototyping method?
For initial ideas, paper sketching is the fastest and cheapest method. For creating a physical object quickly and affordably, 3D printing is generally considered the best option. It allows for rapid iteration of designs overnight with relatively low material costs, making it ideal for startups and developers on a tight budget.
2. What is the cheapest way to make a prototype?
The absolute cheapest way to make a prototype is by using readily available, low-cost materials. This includes paper and cardboard for sketches and mockups, or foam and clay for simple physical models. These materials allow you to visualize and test the basic form and ergonomics of an idea without any significant financial investment.
3. What are the four main types of prototyping?
While there are many methods, they often fall into four broad categories: low-fidelity prototypes (e.g., sketches, paper models), high-fidelity prototypes (e.g., interactive digital mockups, detailed appearance models), functional prototypes (e.g., 3D prints, works-like models that test mechanics), and production prototypes (pre-production models made with final materials and processes).

