
How To Clean Copper: 8 Steps From Tarnished To Timeless Shine
Step 1: Assess and Prepare Your Copper Safely
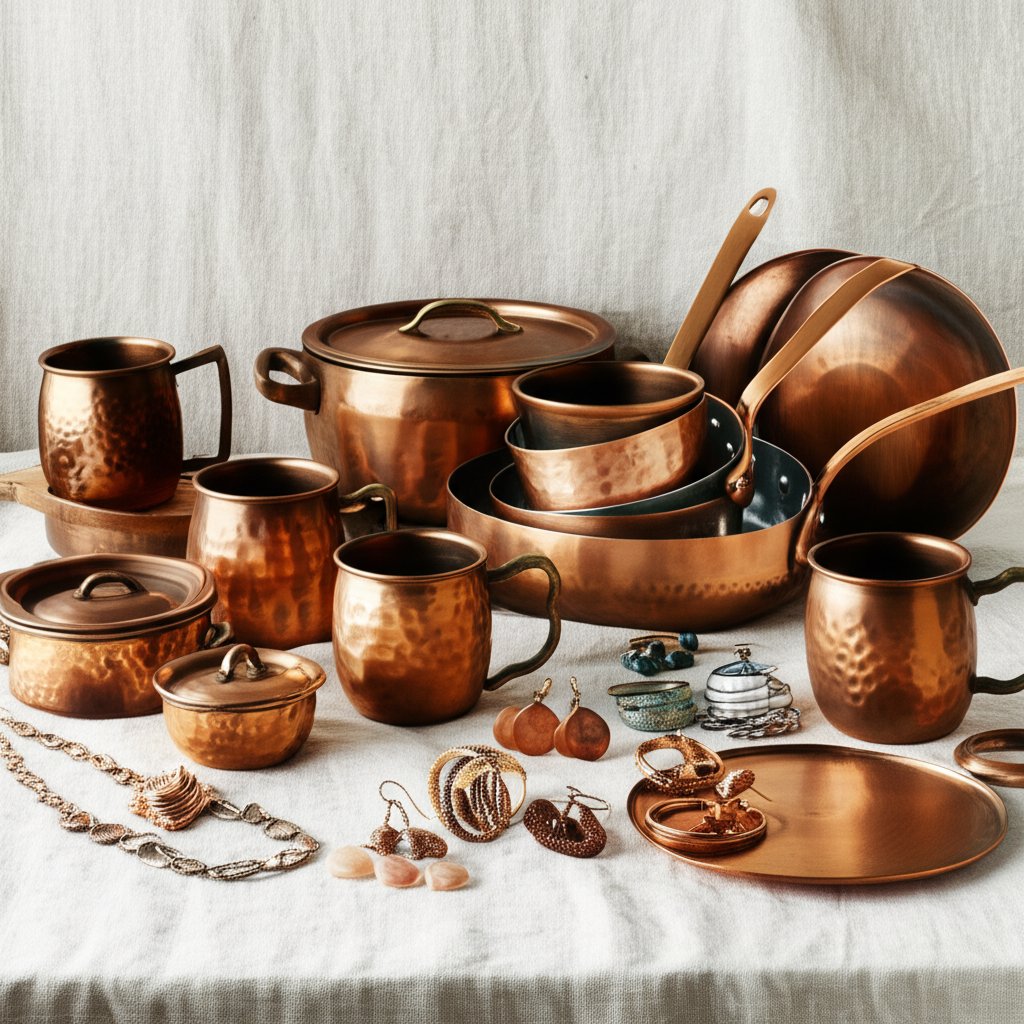
Identify Your Copper and Finish
When you pick up a cherished copper pot or a vintage tray, do you want to see a mirror-bright shine—or would you rather keep that warm, lived-in patina? Before you start cleaning copper, it’s important to identify your item’s finish and set your goal. This helps you choose the safest and most effective cleaning approach. For example, lacquered copper has a clear protective film that keeps its color consistent and resists fingerprints. If you notice a glossy layer and fingerprints don’t leave marks, your piece is likely lacquered—avoid harsh cleaners and abrasives on these items, as they can damage the coating and lead to flaking or cloudiness.
Preserve Patina or Polish Bright?
Does copper tarnish over time? Absolutely. It naturally reacts with air and moisture, developing a brown or green patina that many collectors find beautiful (Real Simple). If you love this look, stick to gentle cleaning—just wash and dry. But if you want to restore a brilliant shine, you’ll need a more hands-on approach. Knowing your preference shapes every step from here.
Spot-Test and Safety First
Before you dive in, gather your tools and set up a safe workspace. Here’s what you’ll need for cleaning copper:
- Soft microfiber cloths
- Cotton swabs
- Mild dish soap
- Lemon
- Salt
- White vinegar
- Baking soda
- Non-scratch sponge
- Nitrile gloves
Wondering how do you clean copper safely? Always start with a spot-test to avoid unexpected damage. Here’s a quick protocol:
- Wash the item in warm water with a drop of dish soap to remove oils and grime.
- Rinse and dry completely with a soft cloth.
- Apply your chosen cleaner to a hidden spot for 60 seconds.
- Rinse, dry, and check for any color change, cloudiness, or scratches.
- If you see any issues, switch to a milder method—baking soda paste is a good gentle option for sensitive finishes.
Once you pass the spot-test, you’ll know whether you can use acid-based cleaners like lemon or vinegar, or if you should stick with how to clean copper naturally using mild, non-abrasive methods (Martha Stewart).
Always test before you treat—the safest method is the one your specific finish tolerates.
- Red flags to stop immediately:
- Rainbow sheens (may indicate lacquer damage)
- Flaking or peeling finish
- Pinkish copper showing through (possible over-polishing or plating loss)
By setting your cleaning goal, identifying the finish, and spot-testing, you’ll protect your copper and get the results you want—whether you prefer a timeless shine or a rich, aged patina. If you ever wonder, "how do I clean copper without risk?"—start slow and gentle. That’s the best way to clean copper and enjoy it for generations.
Step 2: Choose the Best Cleaning Method for Your Copper
Quick Method Picker
Staring at a dull copper pot or a spotted mug, you might wonder: What’s the best way to clean copper for your situation? The answer depends on the item’s finish, how much tarnish you see, and how delicate the material is. Let’s help you select the safest, most effective approach—whether you’re cleaning copper with vinegar, reaching for lemon and salt, or considering a commercial copper polish.
| Method | Effectiveness | Time | Cost | Risk to Finish | Patina Impact | Best For |
|---|---|---|---|---|---|---|
| Lemon + Salt | Very high on tarnish | 1–3 min | Low | Can damage lacquer; avoid on coated/plated | Removes patina quickly | Cookware, bare décor |
| Vinegar + Salt Soak | Excellent for small, heavily tarnished items | 5–10 min | Low | Monitor closely; not for lacquered/plated | Strips patina fast | Jewelry, coins, small décor |
| Baking Soda Paste | Moderate; gentle | 2–4 min | Low | Safest for sensitive finishes | Minimal patina removal | Lacquered, delicate, or lightly tarnished copper |
| Ketchup | Good; mild acid | 5–10 min | Low | Gentle; safe for most surfaces | Leaves some patina | Mugs, décor, quick touch-ups |
| Commercial Copper Cleaner/Polish | High; consistent results | 2–5 min | Medium | May contain harsher chemicals; follow label | Removes patina, can leave protective film | Cookware, copper cleaner for pots and pans, stubborn tarnish |
| Mechanical Polishing (cloth wheel + compound) | Very high (last resort) | 5–15 min | Medium–High | Can remove material/details; bare copper only | Removes all patina | Restoration, bare copper only |
When To Avoid Vinegar
Vinegar on copper is a powerful solution, but it’s not for every situation. Always skip vinegar-based methods on lacquered, plated, or antique items. Acid can dull sensitive finishes or cause etching—especially if left too long. For those pieces, baking soda paste or a mild commercial copper polish is your safest bet.
Commercial Creams and Polishes
Commercial copper polish options, like Bar Keepers Friend or Wright’s Copper Cream, offer fast, reliable shine—especially for cookware and items with stubborn tarnish (NY Times Wirecutter). The best copper polish often leaves a protective film, helping slow future tarnish. But remember: these products can be more abrasive and may introduce fine scratches over time, so use them sparingly and always follow the label. When in doubt, start with a gentler copper cleaner for pots and pans, and escalate only if needed.
- Confirm if your item is bare copper or has a coating/plating.
- Assess the tarnish: Is it a light film, brown oxide, or green verdigris?
- Choose the least aggressive method likely to work—baking soda paste for delicate, lemon + salt or vinegar for heavy tarnish.
- Test a small area first. Only move to a stronger method if results are insufficient.
Imagine: You want to restore a family heirloom, but aren’t sure what is the best chemical to clean copper. By using this quick picker and comparison table, you’ll select a method that preserves both beauty and value. Next, let’s dive into the exact recipes and procedures for each method so you can clean copper with confidence and control.
Step 3: Use Precise DIY Recipes That Work
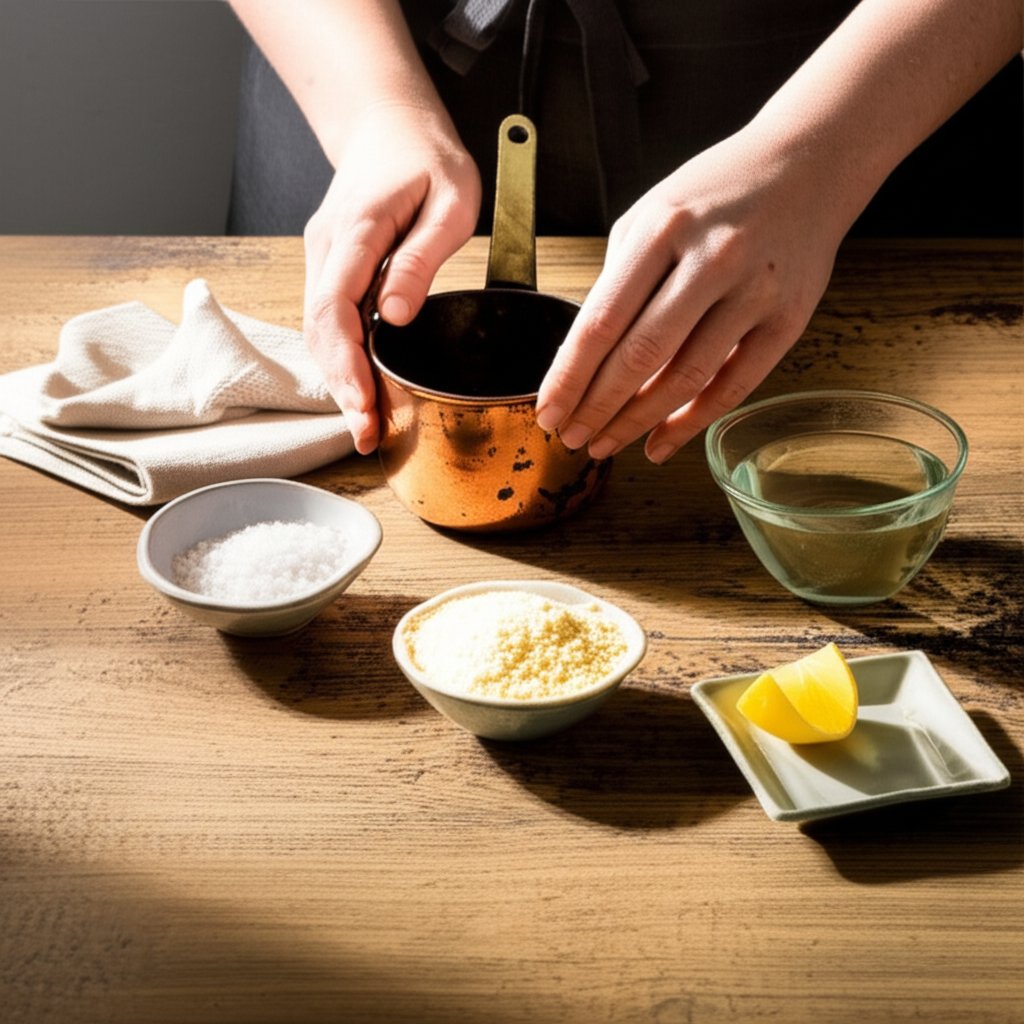
Lemon and Salt Paste: A Classic Home Remedy for Cleaning Copper
Ever wondered how to polish copper naturally with ingredients from your kitchen? The lemon and salt method is a tried-and-true favorite for a reason. It’s simple, fast, and ideal for cleaning tarnished copper cookware or décor. Here’s how you do it:
- Cut a lemon in half and dip the cut side into fine salt.
- Rub the lemon over the tarnished copper in slow, small circles for 30–90 seconds per area. You’ll notice the shine returning almost instantly.
- For crevices or detailed spots, mix 2 tablespoons lemon juice with 1 teaspoon salt to form a paste. Use a cotton swab to apply, letting it sit for 2–3 minutes before gently rubbing.
- Rinse the item thoroughly with warm water.
- Neutralize any lingering acid by wiping with a solution of 1 teaspoon baking soda dissolved in 1 cup water.
- Dry immediately and buff with a soft cloth for a brilliant finish.
This method is a favorite homemade copper cleaner for its speed and effectiveness, but always spot-test first—especially on thin or plated items.
Vinegar and Salt Soak: For Heavily Tarnished or Small Items
If you want to remove tarnish from copper jewelry, coins, or small décor, a vinegar and salt soak is a powerful option. Here’s the step-by-step:
- In a glass container, combine 1 cup white vinegar with 1 tablespoon salt. Stir until the salt dissolves.
- Submerge your copper item in the solution for 5–10 minutes, gently agitating every few minutes.
- Remove the item and, if needed, use a soft brush to lightly scrub away stubborn tarnish.
- Rinse thoroughly under warm water.
- Neutralize with a quick wipe of diluted baking soda solution (as above).
- Dry fully and buff to restore shine.
This home remedy for cleaning copper is highly effective, but avoid using it on lacquered or antique pieces to prevent damage (A Beautiful Mess).
Baking Soda Paste: Gentle Cleaning for Sensitive Finishes
Need a mild approach for lacquered, delicate, or lightly tarnished copper? Baking soda paste is your best bet for cleaning and polishing copper without risk.
- Mix 3 tablespoons baking soda with just enough water to create a thick, yogurt-like paste.
- Apply to the copper using a soft microfiber cloth, working in small sections for 2–4 minutes.
- Rinse with warm water and dry thoroughly.
This DIY clean copper method is safe even for sensitive surfaces, though it may take a few cycles to achieve maximum shine.
Ketchup for Convenience: Quick and Mild Cleaning
Sounds odd, but ketchup is a surprisingly effective, gentle solution for cleaning tarnished copper. Perfect for mugs, cups, or when you’re short on time:
- Spread a thin layer of ketchup over the copper surface.
- Let it sit for 5–10 minutes.
- Rub gently with a soft cloth, rinse, neutralize with baking soda solution, and dry.
Ketchup’s mild acids work well for a quick refresh, leaving some patina for character.
- Keep dwell times short on thin or plated copper—repeat gentle cycles rather than scrubbing hard.
- Always dry immediately after rinsing to avoid water spots.
- For stubborn tarnish, try alternating methods, but always spot-test first.
With these homemade copper cleaner recipes, you can confidently tackle cleaning and polishing copper—whether you’re restoring a family heirloom or just want to keep your favorite mug shining. Next, we’ll show you how to tailor your cleaning workflow to different types of copper items for safe, stunning results every time.
Step 4: Follow Item-Specific Workflows for Safe, Effective Copper Cleaning
Cookware: Pots and Pans
Ever looked at your favorite saucepan and wondered if there’s a right way to clean it without risking the lining or shine? When it comes to cleaning copper pots and pans, knowing what’s inside and out is key. Most copper cookware features a tin or stainless steel interior, which is much softer than the copper exterior and needs different care. Here’s how to clean copper pots the right way:
- 1. Confirm the lining: Is it tin or stainless? Tin is soft and should never be scrubbed with acids or abrasives.
- 2. Clean the copper exterior only: For the outside, use lemon and salt or a commercial copper polish. Avoid getting these cleaners on the tin or stainless interior.
- 3. Wash the interior gently: Use a soft sponge or cloth with mild dish soap and warm water. For stuck-on food, soak briefly in soapy water, then wipe clean (Food52).
- 4. Rinse and dry thoroughly: After cleaning, rinse both interior and exterior with clean water. Dry immediately to prevent water spots and slow down tarnishing.
- 5. Buff for shine: Finish the exterior with a soft cloth to restore luster.
Never put copper cookware in the dishwasher or use bleach, steel wool, or harsh abrasives. These can damage both the copper and its lining. If you’re wondering how to clean copper bottom pots, these same steps apply—focus on the exterior, keep acids away from the lining, and always dry right away to keep your cookware looking its best.
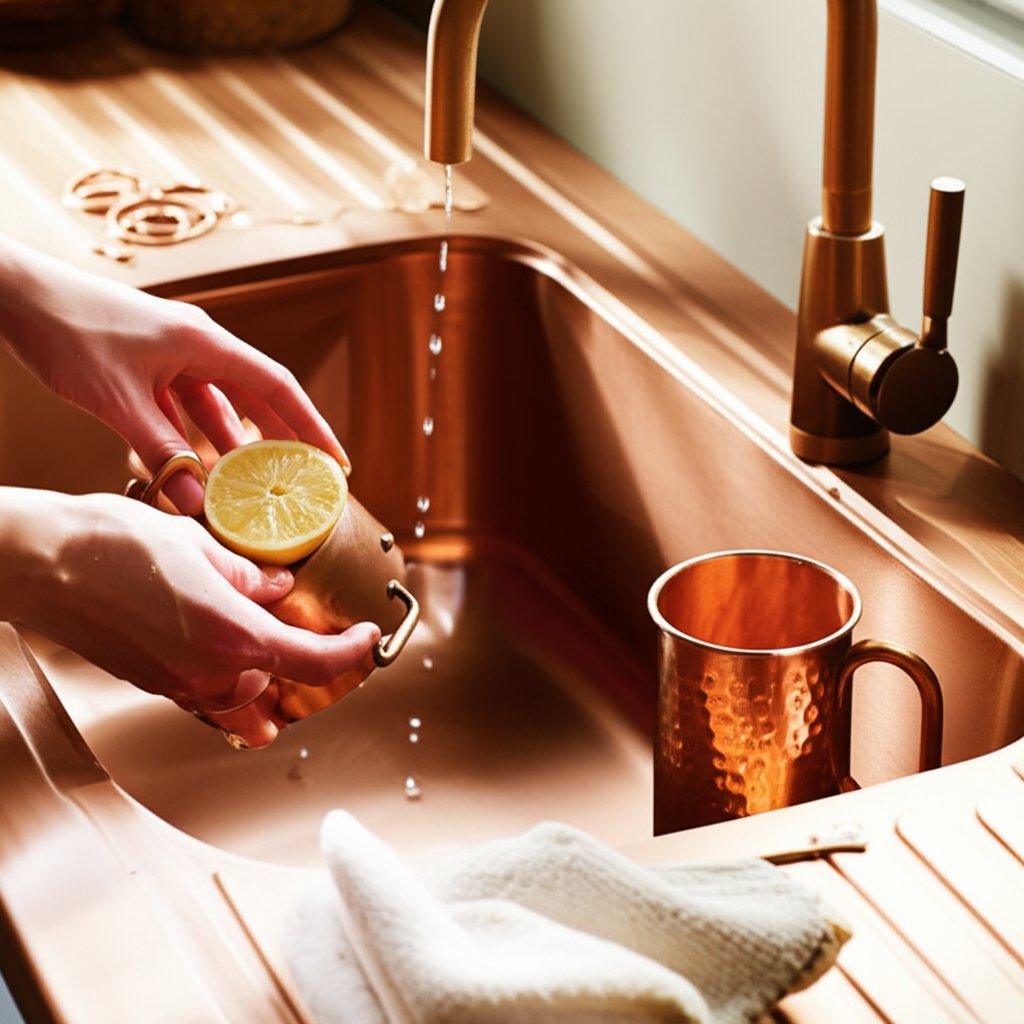
Copper Sinks and Countertops
Cleaning a copper sink or countertop is all about gentle, regular care. These surfaces see daily use, so the goal is to prevent tarnish while preserving the patina you love. Here’s a simple workflow for how to clean a copper sink:
- 1. Rinse away debris: After each use, rinse with warm water to remove food or soap residue.
- 2. Daily cleaning: Wash with a soft sponge and mild dish soap. Avoid harsh chemicals or abrasive pads.
- 3. Tackle stains: For spots or stains, apply a baking soda paste and let it sit for a few minutes before rinsing. For heavier tarnish, use a cloth dampened with diluted vinegar (1 part vinegar to 3 parts water), but avoid letting it sit too long to preserve the patina.
- 4. Rinse and dry: Always dry the sink or countertop after cleaning to prevent water spots and slow down tarnish formation.
These steps keep your copper sink care routine simple and effective, letting you enjoy the warm glow of copper without extra work.
Jewelry and Mixed Materials
When it comes to how to clean copper jewelry, a little caution goes a long way—especially if your piece has stones, glue, or a protective lacquer. Here’s how to keep your favorite copper cuffs, rings, or necklaces shining:
- 1. Check for stones and coatings: If there are gems or glued parts, avoid soaking and stick to surface cleaning only (Jewelers Mutual).
- 2. Isolate and clean: Use cotton swabs to apply a baking soda paste to the copper, steering clear of stones or glue. For chains, a quick dip (under a minute) in a mild vinegar solution (1 part vinegar to 4 parts water) works, followed by a thorough rinse and pat dry.
- 3. Polish gently: Use a soft cloth to buff the metal. If your jewelry is intentionally patinated, only clean the high spots to preserve its unique look.
For sealed or lacquered copper jewelry, stick to a microfiber cloth with warm, soapy water and avoid acids altogether. This keeps the protective layer intact and prevents dulling.
Moscow Mule Mugs and Cups
Love the look of your copper mugs? They need special care to stay bright and food-safe. Here’s how to clean copper mugs without risk:
- 1. Handwash only: Never put copper mugs in the dishwasher, as harsh detergents and heat can damage the finish.
- 2. Remove fingerprints: Wipe with a damp cloth and a dab of ketchup or lemon-salt for 1–2 minutes to lift tarnish or water spots.
- 3. Rinse, neutralize, and dry: Rinse thoroughly, wipe with a diluted baking soda solution if you used acids, and dry immediately—inside and out—to prevent spots and preserve shine.
These steps work for all copper drinkware, keeping your mugs and cups ready for the next round of cocktails.
If a finish looks cloudy or smears during cleaning, stop—your item may be lacquered or plated.
By tailoring your cleaning routine to each item, you’ll avoid common mistakes and keep your copper looking beautiful for years. Whether you’re cleaning copper pans, jewelry, or mugs, a focused, gentle approach brings out the best in every piece. Next, we’ll show you how to lock in those results and slow down future tarnish.
Step 5: Rinse, Dry, and Protect to Slow Tarnish
Neutralize and Rinse Thoroughly
So you’ve brought your copper back to life—now what? Imagine spending time to restore that deep, polished copper glow, only to see tarnish creep back within weeks. The secret to long-lasting shine is what you do right after cleaning. Whenever you use lemon, vinegar, or any acid-based cleaner, always neutralize the surface to stop further reaction. Simply wipe the item with a solution of 1 teaspoon baking soda dissolved in 1 cup of water. This step neutralizes any lingering acid, which helps prevent new tarnish from forming. Rinse thoroughly with clean water to remove all residues, then dry immediately with a soft, absorbent cloth.
Dry and Buff to a Shine
Ever noticed streaks or water spots after cleaning copper? That’s often from air drying. Always dry your copper pieces right away—never let them air dry. Use a clean microfiber towel to gently buff the surface. This not only prevents moisture from accelerating tarnish, but also brings out a uniform, mirror-like shine. If you wonder how to shine copper for that just-polished look, this step is essential. For extra brilliance, gently buff in small circles until you see the full reflection return.
Protective Coatings and Storage
Now let’s talk about how to keep copper from tarnishing. The moment your copper is clean and dry, it’s exposed to air and moisture—the main causes of tarnish. To slow this process, create a protective barrier:
- Mineral Oil or Food-Safe Wax: For cookware exteriors and mugs, apply a micro-thin coat of mineral oil or a food-safe wax (like carnauba). Rub a small amount onto the surface with a soft cloth, then buff until the copper looks polished and feels smooth. This invisible layer seals out air and moisture, keeping your copper brighter for longer.
- Clear Lacquer for Decorative Items: If you want a more permanent solution for display pieces, a clear lacquer formulated for metals can be applied. Always test first and avoid using lacquer on anything that will touch food or see high heat, since it can degrade or be unsafe.
- Proper Storage for Jewelry: Store copper jewelry in anti-tarnish pouches with silica gel packs to absorb moisture. Wrap larger items in acid-free tissue or soft cloth to prevent scratches and reduce exposure to air.
Still wondering what to use to polish copper for best results? A soft cloth, a touch of oil or wax, and regular buffing are all you need for most household items. If you’re asking, "what do you polish copper with," stick to gentle, non-abrasive products and always avoid harsh chemicals or rough pads.
The best way to keep copper from tarnishing is to minimize moisture, acids, and fingerprints—clean, dry, and protect.
If you prefer the character of aged copper, skip aggressive acids and simply wash, dry, and wax after each use. This approach preserves the warm patina while preventing active corrosion. Either way, a little post-cleaning care goes a long way in keeping your copper beautiful—whether you want it gleaming or gently aged. Up next, let’s look at what to do when tarnish returns or you’re facing stubborn stains.
Step 6: Troubleshoot Heavy Oxidation and Verdigris
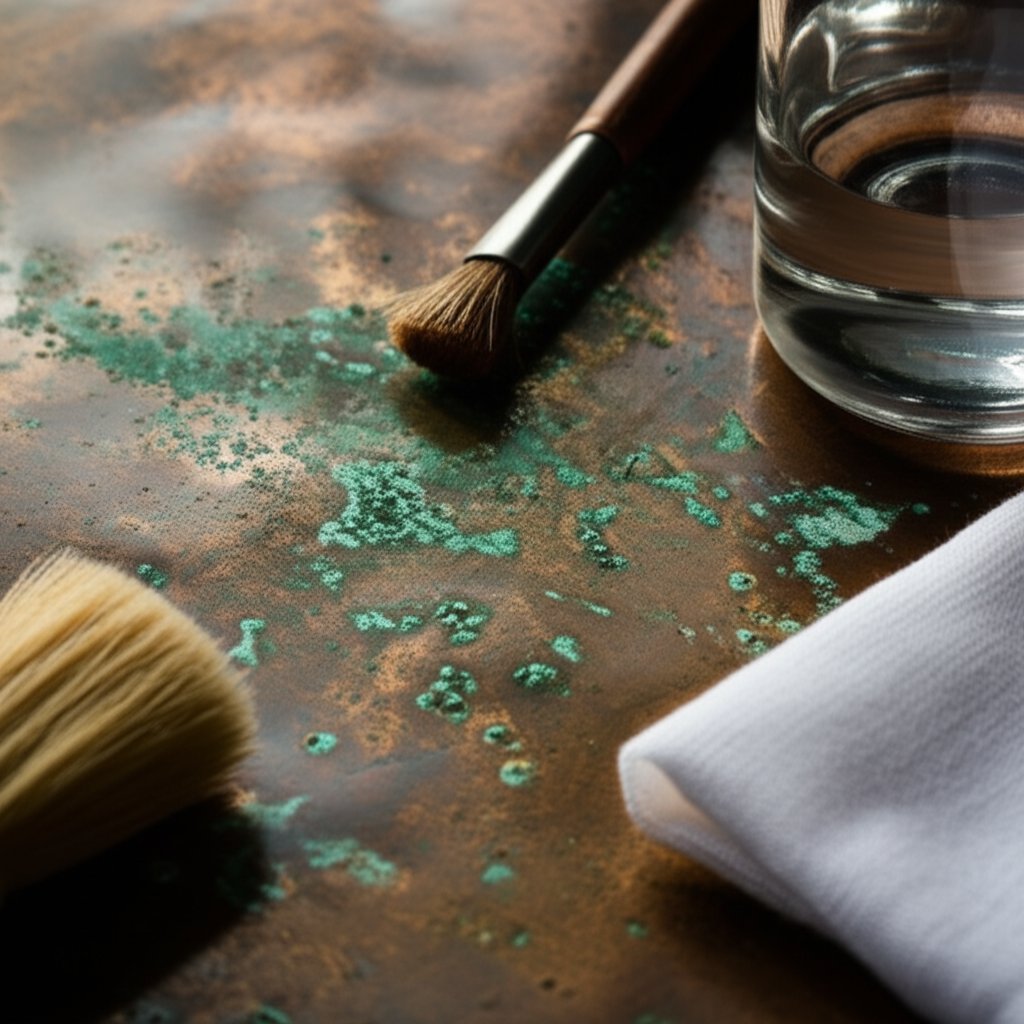
Remove Green Verdigris Safely
When you notice green spots or streaks on your copper—often called verdigris—it’s a sign of advanced oxidation. Wondering how to clean green off copper without risking damage? The trick is to act gently and patiently. Here’s a practical plan:
- Verdigris spots: Dab the area with a mixture of white vinegar and a pinch of salt. Let it sit for no more than 2–5 minutes. Use a soft brush, like an old toothbrush, to agitate gently. Rinse thoroughly, neutralize with a mild baking soda solution, and dry completely. If the green persists, repeat the process instead of scrubbing harder. This method is effective for how to clean green off copper while minimizing abrasion.
- For jewelry or delicate items: Use a cotton swab for targeted application, and avoid soaking pieces with stones or glued elements.
Green oxidation can be stubborn, but patience pays off. If you’re wondering, "how do you clean the green off copper" without harming the finish, always choose the mildest method first and repeat as needed.
Deal With Deep Oxidation
When copper turns brown-black or develops a thick, dull layer, it’s time for a deeper clean. Here’s how to clean badly tarnished copper or how to clean heavily tarnished copper using proven home methods:
- Warm vinegar and salt bath: In a non-metal container, mix 1 cup white vinegar with 1 tablespoon salt. Submerge the item (if small enough) for 5–10 minutes—no boiling needed. Gently brush with a soft cloth or brush to lift oxidation, then rinse and neutralize with a baking soda solution. Dry thoroughly. This is a reliable way to remove oxidation from copper without harsh chemicals.
- Baking soda paste for sensitive finishes: For lightly oxidized or lacquered copper, wet the oxidized area with vinegar (or lemon juice) first, allowing the acid to break down the oxide, before abrading and neutralizing with the baking soda paste, then rinse and buff. This is ideal if you’re concerned about how to clean oxidized copper gently.
Still seeing streaks or halos? Reapply your chosen method in overlapping passes, keeping surfaces wet to avoid tide marks. Finish with a clean, dry cloth for a uniform shine.
Fix Pitting and Stubborn Stains
Sometimes, after you remove oxidation from copper, you’ll notice tiny pits or persistent stains. Here’s what to do next:
- Pitting: Cleaning can’t fill pits, but you can soften their appearance. Limit the use of acids—overuse can worsen the issue. To clear out green trapped in pits, use a toothpick wrapped in a soft cloth to gently lift residue.
- Mechanical assist (bare copper only): For the most stubborn tarnish or pitting, a very light pass with 0000 steel wool or a soft buffing wheel and fine metal polish can help restore shine. Go slowly and evenly, as aggressive polishing can remove details or thin the metal. Only try this on solid, uncoated copper—not on lacquered, plated, or historical items.
For all these cases, how to get rid of oxidation on copper comes down to patience and the right technique. Avoid shortcuts that promise overnight results—they often do more harm than good.
If your item is lacquered, plated, or historically valuable, consult a professional before mechanical polishing.
By troubleshooting with these targeted steps, you can restore even the most neglected copper pieces. If you’re ready to keep your results lasting longer, the next step is all about easy, regular maintenance to prevent future tarnish and keep your copper shining.
Step 7: Maintain Finish for Cookware, Sinks, and Jewelry
Daily and Weekly Habits for Copper Care
Ever wondered why some copper stays radiant while other pieces lose their luster? The secret is simple: regular, gentle care tailored to each item’s use. Imagine your favorite copper pan or that statement sink—routine attention keeps them looking their best and cuts down the need for heavy-duty cleaning later on.
- Cookware (Pots & Pans): After each use, handwash with mild dish soap and a soft sponge—never put copper in the dishwasher, as harsh detergents and high heat can dull or spot the finish. Dry immediately to prevent water spots and, once a month, wipe the exterior with a touch of mineral oil or food-safe wax to slow tarnish and keep up that copper cookware maintenance. If you’re curious how to care for copper pans with a patina, just wash and dry—skip the polish to let character build naturally.
- Sinks: For copper sink care, rinse and wipe dry after each use. If you live in an area with hard water, finish with a quick towel dry to prevent mineral spots. Avoid leaving acidic foods or toothpaste on the surface—they can cause bright spots or streaks. If stains appear, use a baking soda paste for gentle cleaning.
- Mugs: Wondering how to care for copper mugs? Handwash only—avoid dishwashers and don’t let citrus or acidic drinks linger. Rinse and dry right away, and store upside down to keep the rim spotless.
- Jewelry: Wipe pieces with a soft cloth after wear to remove skin oils and moisture. Store in anti-tarnish pouches or wrap in soft cloth to minimize air exposure and slow tarnishing.
Mixed Materials and Rivets: Special Attention
Have you noticed grime building up around rivets or where metals meet? Mixed-material pieces need a little extra care:
- Riveted Cookware: Use cotton swabs to gently clean around rivets or seams. This prevents buildup that can cause greenish spots or corrosion.
- Jewelry with Stones or Glue: Avoid soaking these pieces. Instead, clean only the exposed copper using a cotton swab and a mild baking soda paste. For chains, a quick dip in diluted vinegar (for under a minute) works, but always rinse and dry immediately (NY Times Wirecutter).
Safe Protocols for Plated or Lacquered Pieces
Not all copper is created equal—some pieces are lacquered or plated for a specific look. How do you care for copper cookware or décor with these finishes?
- Use only mild soap and water with a soft cloth—never acids, abrasives, or harsh chemicals.
- Test any polish on a hidden spot first. If the finish turns cloudy or smears, stop immediately to avoid permanent damage.
- Dry thoroughly after cleaning to avoid water marks.
Gentle, frequent care beats aggressive, infrequent polishing—preserve material and finish.
By building these habits into your routine, you’ll extend the life and beauty of every copper piece you own. Whether it’s copper pan care, copper sink care, or keeping jewelry sparkling, a few moments after each use make a world of difference. Next, we’ll explore when professional finishing or restoration might be the best option for copper that’s beyond what home care can handle.
Step 8: Consider Professional Finishing for Copper Parts and Plumbing
When Precision Finishing Makes Sense
Ever struggled to clean copper pipe that just never seems to shine evenly, or found yourself frustrated when your copper tube cleaner leaves streaks and residue? Sometimes, no matter how diligent your DIY copper tube cleaning routine is, the underlying surface just isn’t smooth or consistent enough for easy maintenance. This is especially true with plumbing, industrial parts, or custom copper fittings—where tarnish, oxidation, and water spots can build up quickly and become tough to remove.
In these cases, professional machining and finishing can make all the difference. When you need how to clean copper plumbing pipes or decorative copper elements that stay cleaner longer, starting with a high-quality surface finish is key.
Surface Quality and Cleanability
Imagine trying to polish a copper tube that came straight from a rough saw—no matter how much you scrub, pits and machining marks trap grime. Now, picture a tube with a precisely machined, mirror-smooth finish: water, fingerprints, and tarnish wipe away in seconds. That’s the advantage of a professionally finished surface.
- Replacement copper tubing: Need to clean copper pipe in a visible area, like exposed plumbing or a decorative installation? CNC-machined segments can be specified with a fine finish (such as Ra 0.8 μm or better), making how to clean copper tubing much easier and more effective.
- Custom copper fittings: For tight-tolerance plumbing joints or decorative connectors, precise machining ensures burr-free edges and uniform surfaces—so your copper tube cleaning routine is quick and safe.
- Decorative trays or plates: When aesthetics matter, specify a polished or plated finish. This not only enhances shine but also reduces the frequency and intensity of cleaning needed to maintain a brilliant look.
- Industrial or electrical parts: High-quality surface finishes can improve conductivity and corrosion resistance, reducing the need for aggressive cleaning or chemical treatments.
Professional finishing isn’t just about looks—it’s about longevity and ease of care. For example, nickel or chrome plating can dramatically slow down oxidation and tarnish, especially in harsh environments.
When DIY Isn’t Enough: The Case for CNC Machining
If you’re dealing with corroded pipe ends, hard-to-polish plumbing elbows, or want decorative copper that stays cleaner between uses, it may be time to consider professionally machined parts. At this stage, you can specify the exact finish you want—whether that’s a bright polish for easy copper tube cleaning or a protective plating for durability.
- Replacing worn copper pipe ends? CNC machining delivers clean, burr-free surfaces that are easier to wipe, polish, and maintain.
- Creating custom architectural features? A fine surface finish means less time spent on cleaning copper tubing and more time enjoying the results.
- Need multi-material assemblies or intricate components? Professional services ensure each part fits perfectly and is easy to clean from day one.
For projects that demand more than household solutions, consider exploring XTJ's CNC machining services for copper and multi-material assemblies. You’ll get parts engineered for both performance and cleanability—helping you maintain that timeless copper shine with minimal effort.
By starting with the right surface, you’ll spend less time scrubbing and more time enjoying the beauty and function of your copper—whether it’s plumbing, décor, or precision components.
Frequently Asked Questions About Cleaning Copper
1. Does Dawn clean copper?
Yes, mild dish soaps like Dawn are safe for cleaning copper. Use warm water and a soft cloth or sponge to wash away oils and everyday grime. For deeper tarnish, follow up with specialized copper cleaning methods, but always start gently to avoid damaging delicate finishes.
2. What is the best homemade way to clean copper?
A classic homemade method uses lemon and salt. Cut a lemon, dip it in salt, and gently rub the copper surface. Rinse, then neutralize with a baking soda solution and dry thoroughly. For delicate items, a baking soda paste is a gentler alternative. Always spot-test before cleaning the entire item.
3. Can vinegar damage copper?
Vinegar is effective for removing tarnish on bare copper, but it can harm lacquered, plated, or antique items. Prolonged exposure to vinegar may dull the finish or cause etching. Always avoid vinegar on coated surfaces and use it only after confirming your item is suitable for acid-based cleaning.
4. How do you keep copper from tarnishing after cleaning?
After cleaning, rinse and neutralize the copper, then dry it thoroughly. Apply a thin coat of mineral oil or food-safe wax to the surface to seal out air and moisture. For jewelry, store pieces in anti-tarnish pouches. These steps help slow down tarnish and keep copper looking its best.
5. When should you consider professional finishing for copper parts?
If your copper pipes, fittings, or decorative pieces have severe corrosion or need a flawless finish, professional CNC machining can deliver a smoother, more uniform surface. This makes cleaning and maintenance easier and extends the lifespan of your copper parts. For precision or custom needs, consider machining services for optimal results.
-
Posted in
cleaning copper cookware, copper cleaning, copper maintenance, DIY copper polish, how to clean copper


