
Prototyping Electronics Enclosures: Methods & Key Steps

TL;DR
Prototyping electronics enclosures is a crucial step in product development that involves creating a custom housing to test for fit, function, and aesthetics before full-scale production. Key considerations include selecting the right material, choosing an appropriate manufacturing method like 3D printing or CNC machining, and meticulously planning the design to accommodate internal components, thermal management, and user accessibility. A well-executed prototype helps identify design flaws early, saving significant time and money.
The Critical Role of Prototyping for Electronic Enclosures
Many development teams focus intensely on the internal circuitry, viewing the enclosure as a final, simple container. However, this perspective overlooks its vital role in performance, durability, and compliance. Prototyping an electronics enclosure is not just about creating a box; it's about validating the entire product concept in a real-world context. A high-quality prototype allows engineers to test and refine critical aspects of the device long before committing to expensive production tooling.
The benefits of robust enclosure prototyping are substantial and directly impact the success of the final product. By creating a physical model, teams can verify component fit, ensuring that circuit boards, connectors, and cables are perfectly situated. More importantly, it provides a tangible way to assess performance under operational stress. According to insights from Lansing Enclosures, this stage is essential for testing how materials respond to heat, vibration, and electromagnetic interference (EMI). This early validation is especially critical for devices destined for regulated industries like MedTech or harsh industrial environments.
Furthermore, a prototype serves as the first line of defense against costly manufacturing errors. It allows for the evaluation of user ergonomics, button placement, and overall usability. Identifying a design flaw—such as a poorly placed access panel or inadequate ventilation—at the prototype stage is a minor adjustment. Discovering the same flaw after production has started can lead to catastrophic budget overruns and launch delays. Prototyping accelerates the iteration cycle, enabling designers to test multiple configurations and refine the design with confidence.
Key Design Considerations Before You Start
A successful electronics enclosure balances functionality, aesthetics, and manufacturability. Before modeling a single surface or choosing a manufacturing process, a thorough design phase is essential to prevent common pitfalls. Drawing from best practices outlined by industry experts like Outdesign Co, a systematic approach covering environmental factors, component layout, and user interaction is key to a successful prototype.
Here are eight crucial design considerations to address:
- Environmental Protection: The operating environment dictates the enclosure's material and sealing requirements. Determine the necessary Ingress Protection (IP) rating to protect against dust and moisture. For outdoor or industrial use, consider UV resistance, corrosion-proof materials, and designs that prevent water or ice buildup.
- EMI/RFI Shielding: Sensitive electronics must be shielded from electromagnetic and radio-frequency interference. Metal enclosures made of aluminum or steel naturally provide this shielding. If a plastic enclosure is required, special conductive coatings can be applied. However, remember that metal also blocks intentional RF signals, so designs may need clever cutouts or external antennas for wireless communication.
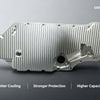
- Thermal Management: Electronic components generate heat that must be dissipated to ensure reliability. Your design should incorporate adequate ventilation, heat sinks, or fans. In some cases, the enclosure itself, particularly if made from aluminum, can be designed with fins to act as a passive heat sink.
- Size and Form Factor: The enclosure should be optimized for the internal components without being unnecessarily bulky. Lay out all components to determine the most compact and logical arrangement, ensuring sufficient clearance for airflow and wiring.
- Accessibility and Ease of Use: Consider how the end-user will interact with the device and how technicians will service it. Buttons, ports, and displays must be logically placed. For maintenance, design removable panels or hatches for easy access to internal components without a complete disassembly.
- Safety and Regulatory Compliance: Your design must adhere to industry-specific standards (e.g., UL, CE). Incorporate safety features like tamper-evident seals or locks where necessary and include appropriate labeling for warnings and instructions.
- Ergonomics and Aesthetics: Especially for consumer electronics and medical devices, the look and feel are paramount. The design should be comfortable to handle and visually appealing, aligning with the company's brand identity.
- Cost-Effective Manufacturing: Balance your design aspirations with budget constraints. Select materials and manufacturing processes that are cost-effective for your required volume. For example, for some aluminum parts, extrusion can be a much cheaper alternative to CNC machining without sacrificing functionality.
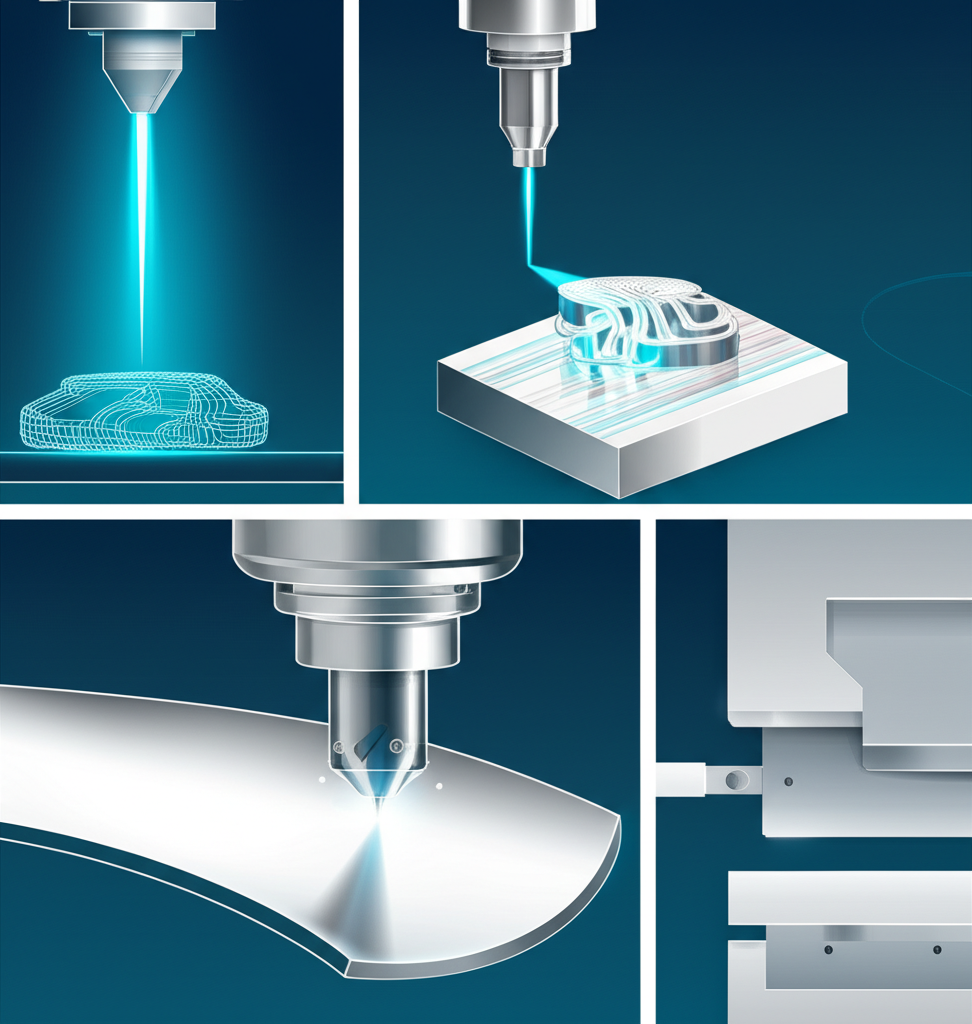
Comparing Manufacturing Methods for Prototypes
Once your design is finalized, the next step is selecting the right manufacturing method to bring your prototype to life. The choice depends heavily on factors like budget, required speed, material properties, and design complexity. Each process offers a unique set of advantages and disadvantages, making it suitable for different stages of the prototyping journey. As detailed by manufacturing service provider Protolabs, the four primary methods are 3D printing, CNC machining, sheet metal fabrication, and injection molding.
To simplify the selection process, here is a comparison of the most common prototyping methods:
| Method | Best For | Pros | Cons | Relative Cost |
|---|---|---|---|---|
| 3D Printing (SLA, SLS, MJF) | Rapid concept models, complex geometries, and functional testing. | Extremely fast (parts in 1-3 days), excellent for intricate shapes, low initial cost. | Surface finish can be rough; material properties may differ from production parts. | Low |
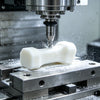
| CNC Machining | High-fidelity prototypes with superior strength and precision from production-grade materials. | Excellent durability, tight tolerances, wide range of material options (plastics and metals). | More expensive for single parts, some geometric limitations due to tool access. | Medium to High |
| Sheet Metal Fabrication | Durable metal enclosures, panels, and brackets with simple bends. | High strength and durability, cost-effective for simple box shapes, provides inherent EMI shielding. | Limited to designs that can be formed from flat sheets; complex curves are difficult. | Medium |
| Injection Molding (Prototyping) | Bridge tooling before mass production; testing with final production material. | Produces strong, durable parts with excellent surface finish; uses production-grade plastics. | High upfront tooling cost; longer lead times (as fast as 7 days). | High (for tooling) |
For early-stage prototypes where speed and design freedom are paramount, 3D printing is often the ideal choice. Technologies like Stereolithography (SLA) can produce parts with a smooth surface finish, while Selective Laser Sintering (SLS) and Multi Jet Fusion (MJF) create robust nylon parts suitable for functional testing. When the prototype needs to closely mimic the final product's strength and material properties, CNC machining is superior. It carves the enclosure from a solid block of plastic or metal, resulting in highly durable and precise parts. For high-precision custom parts, services like XTJ offer rapid CNC machining with tight tolerances, making them a strong option for demanding applications.
Sheet metal fabrication is the go-to method for classic metal boxes, computer chassis, and rackmount units. It involves cutting and bending flat sheets of aluminum or steel, creating very strong and affordable enclosures. Finally, while typically a mass-production technique, prototype injection molding (using aluminum molds) serves as a valuable bridge-to-production step. It allows for testing the design with the exact plastic that will be used in the final product, validating aspects like snap-fits and material flow before investing in expensive steel tooling.
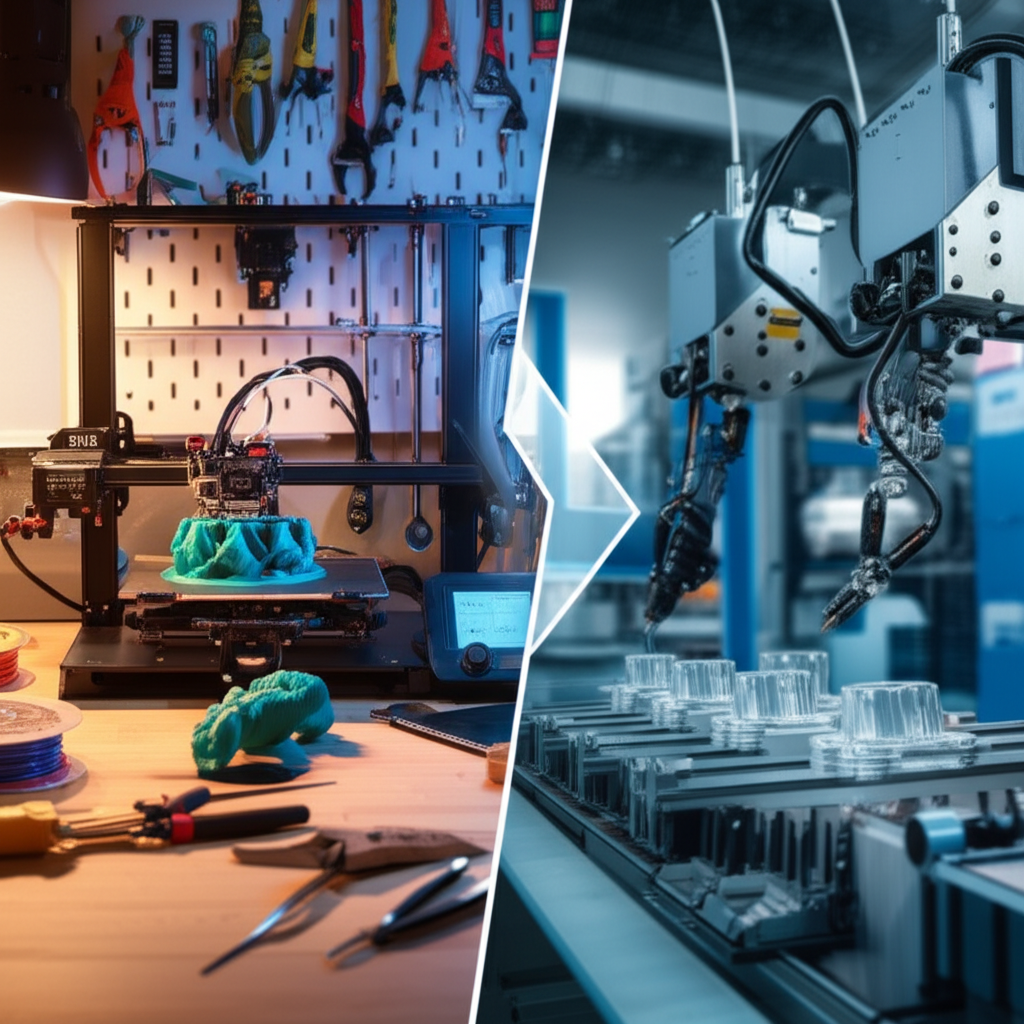
From DIY Solutions to Professional Services
After finalizing the design and selecting a manufacturing method, the final decision is how to get the prototype made. Broadly, you have two paths: a do-it-yourself (DIY) approach or engaging a professional prototyping service. The right choice depends on your project's complexity, your access to equipment, your budget, and your timeline.
The DIY approach is often favored by hobbyists, startups on a shoestring budget, or for very early-stage concept validation. This path involves using accessible tools like desktop 3D printers or basic workshop equipment. The primary benefit is cost, as the only expenses are materials and your own time. This approach allows for rapid, on-the-fly adjustments and is excellent for learning. However, it is typically limited to simpler designs and materials (like PLA or ABS for 3D printing). Achieving a professional finish, tight tolerances, or working with metals is often beyond the scope of a typical DIY setup. As outlined by Ponoko's guide, even with digital fabrication tools, some manual finishing with files, drills, and calipers is usually required to get a perfect fit.
On the other hand, professional services like Protocase, Protolabs, or other specialized manufacturers offer speed, precision, and a vast array of materials and processes. These companies operate advanced machinery for CNC machining, sheet metal fabrication, and industrial-grade 3D printing, delivering parts with a level of quality and consistency that is nearly impossible to achieve in a DIY setting. While more expensive per part, these services eliminate the learning curve and equipment costs. They can produce fully finished enclosures with powder coating, digital printing, and installed hardware in just a few days. This path is ideal for businesses that need high-fidelity prototypes for investor demos, functional field testing, or pre-production validation where quality and speed are non-negotiable.
Ultimately, the decision comes down to a trade-off. If your goal is to quickly test a rough form factor and you have the time and skills, a DIY approach is highly effective. If you need a production-quality prototype that accurately represents your final product and need it fast, investing in a professional service is the most efficient and reliable path forward.
Frequently Asked Questions
1. What is prototyping in electronics?
In electronics, prototyping is the process of building a preliminary model of a device to test and validate its design and functionality in a real-world scenario. For an enclosure, this means creating a physical housing to verify that all components fit correctly, to test thermal performance and material durability, and to evaluate user ergonomics before committing to mass production. It is a critical step for identifying potential issues early in the development cycle.
2. How are electronic enclosures made?
Electronic enclosures are made using various manufacturing processes depending on the material, volume, and design complexity. Common methods for prototyping and low-volume production include 3D printing (for plastics), CNC machining (for plastics and metals), and sheet metal fabrication (for metals like aluminum and steel). For high-volume production, injection molding is the most common method for creating plastic enclosures due to its precision and cost-effectiveness at scale.
3. How do you prototype an electronic device?
Prototyping an electronic device is a multi-step process. It typically starts with simplifying the product concept and building a proof-of-concept (POC) prototype for the core electronics on a development board. Simultaneously, the enclosure design process begins, considering factors like component layout, material, and thermal management. Once the circuit design is more refined on a custom Printed Circuit Board (PCB), a corresponding enclosure prototype is created using a method like 3D printing or CNC machining to test the physical fit and function of the complete assembly.
-
Posted in
3d printing, cnc machining, electronics enclosures, product design, prototyping
