
Why 5-Axis cnc has Become the “Standard” for Robot Parts
Last year, we took on 17 orders for robot joint parts. For 12 of them, the client had already utilized 3-axis with repositioning, and 8 of those fizzled during gathering. After exchanging to 5-axis, 16 passed on the to begin with try.
This isn’t about which machine costs more. A few employment fairs can’t be done on a 3-axis.
Table of Contents
A genuine story
What makes robot parts so hard
How situating blunders include up to 3-axis
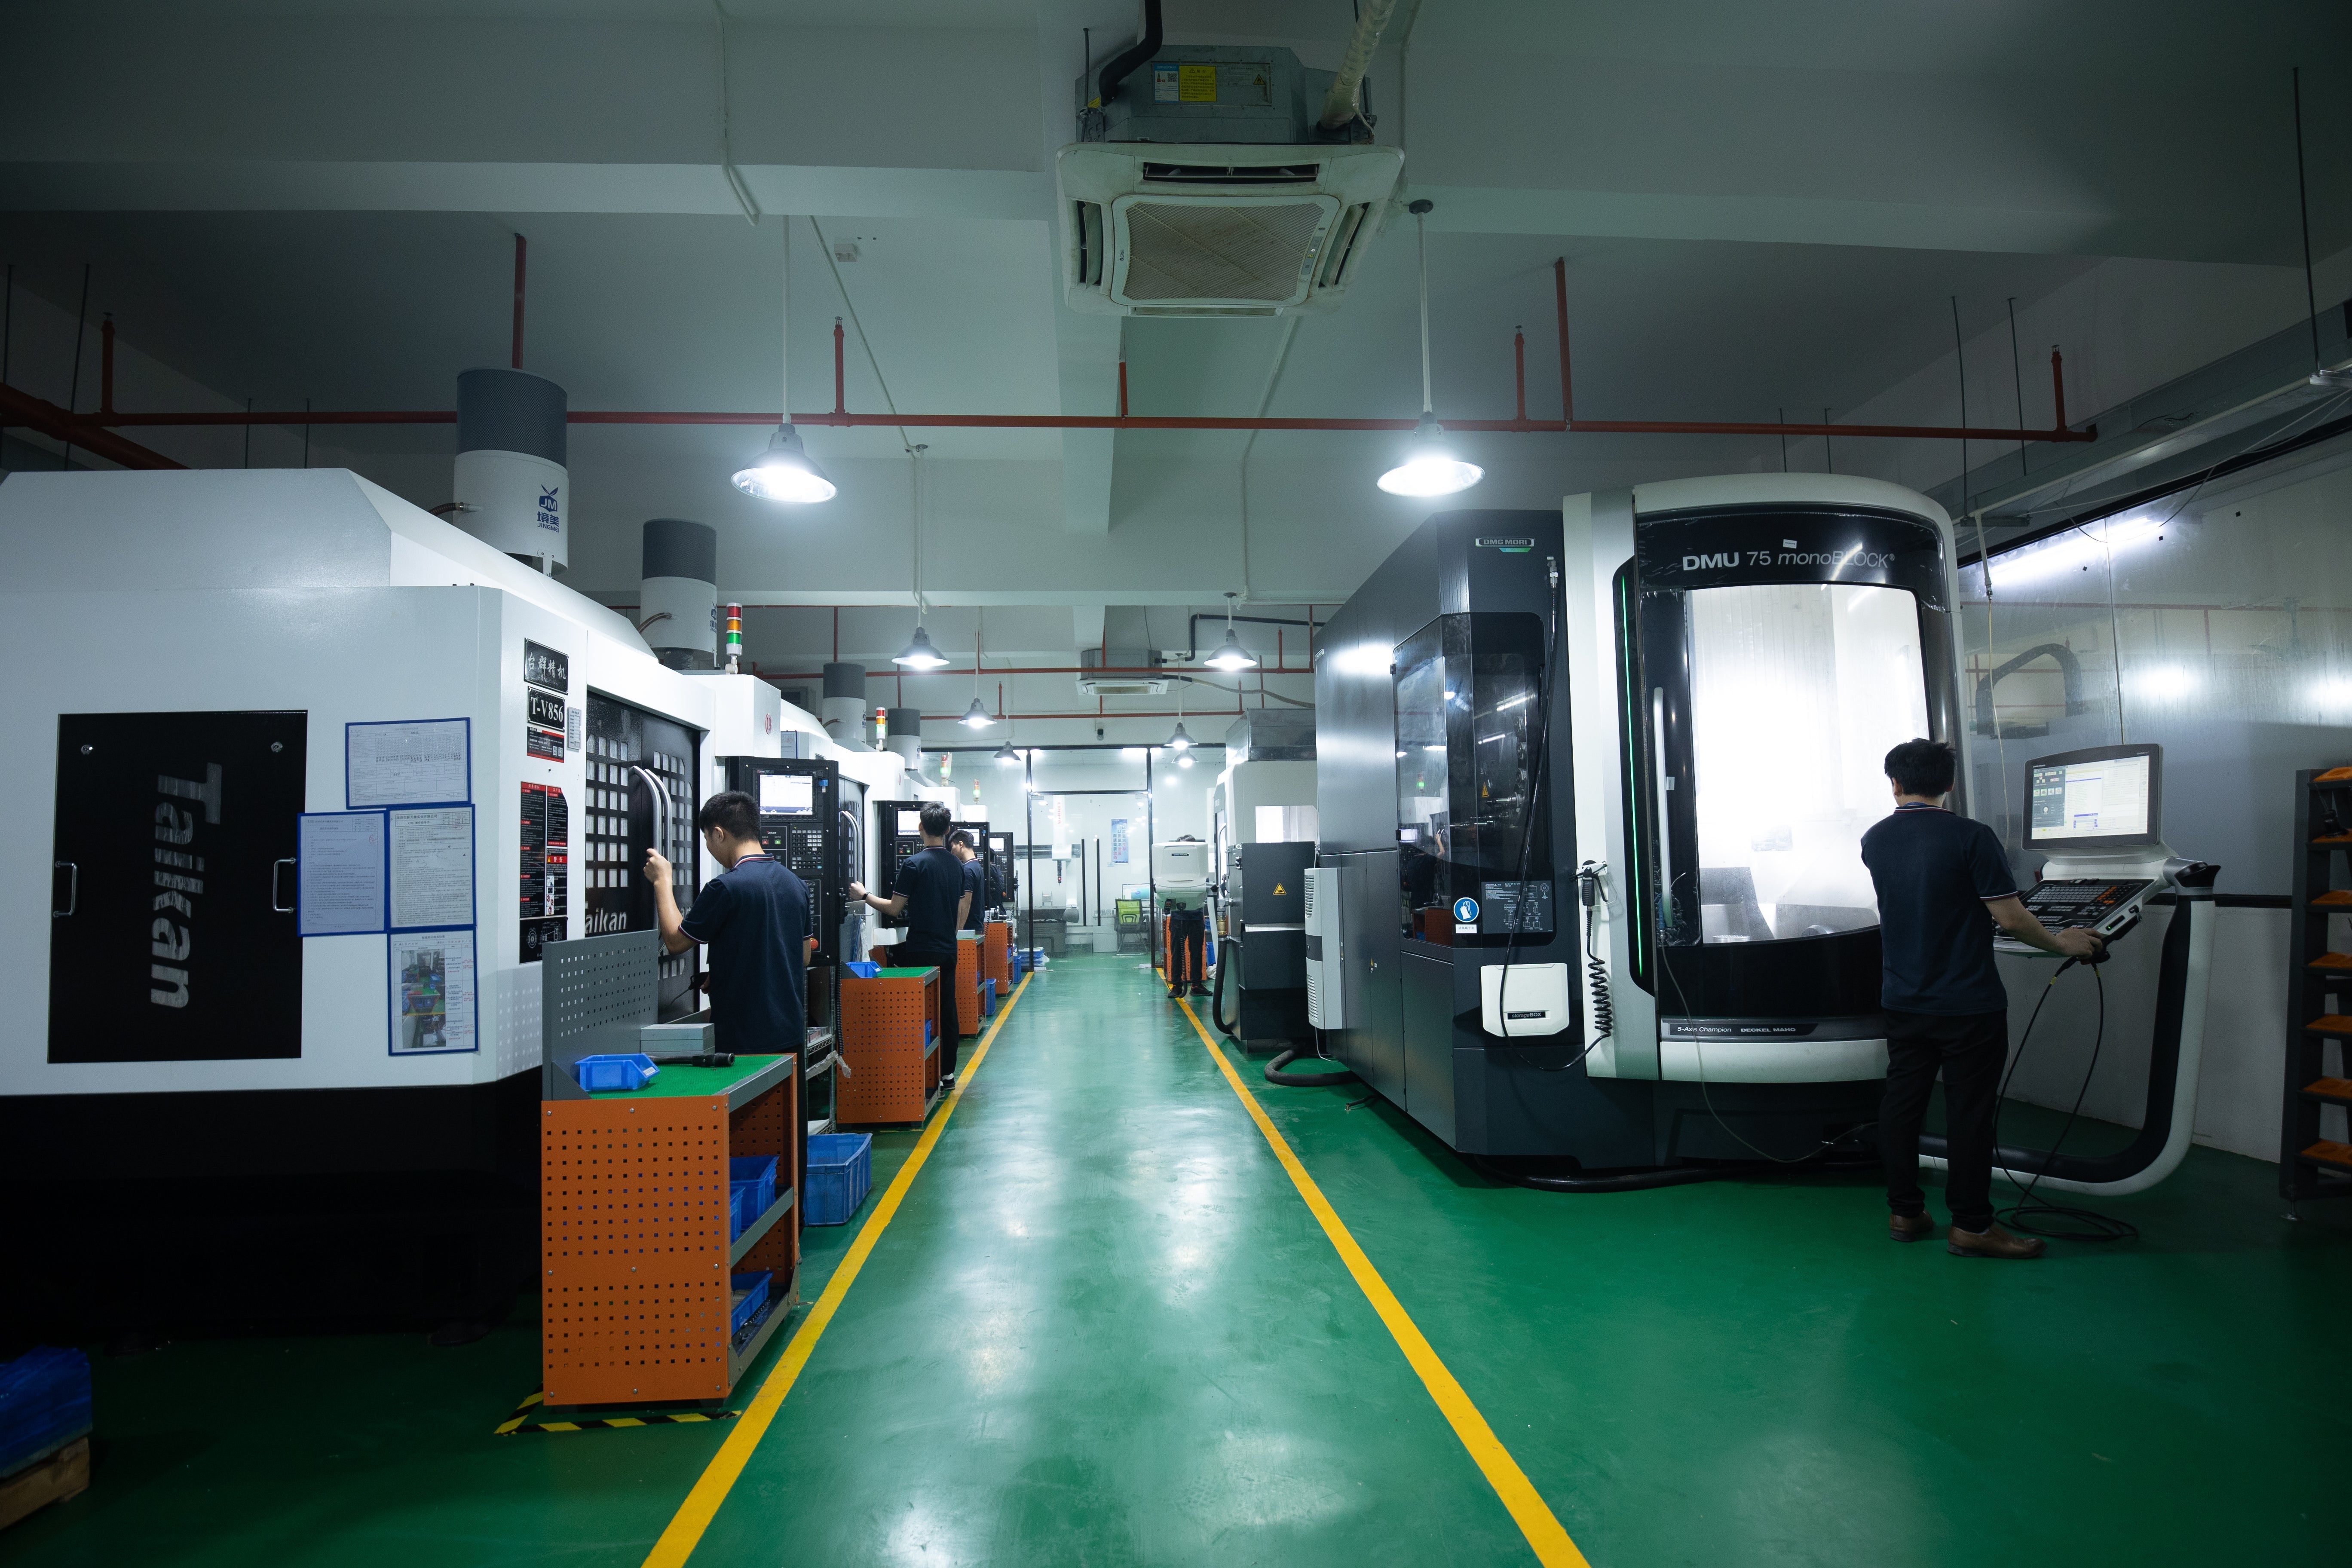
How does 5-axis maintain a strategic distance from these problems?
Let’s do the math
Which parts completely require a 5-axis
Three questions to inquire about your 5-axis shop
The footnote
1. A genuine story
Last year, a collaborative mechanical technology client came to us. The drawing called out a 0.02mm position resilience between the reducer mounting gap and the engine gap. Their past shop utilized a 3-axis machine with four repositioning steps. The first piece came out of CMM at 0.058mm – about three times over.
The shop was perplexed: “Our machine precision is 0.008mm, so why doesn’t it work?”
The issue wasn’t the machine’s exactness. It was repositioning itself.
2. What makes robot parts so hard
For standard 3C-walled-in areas and brackets, a 0.1mm position resistance is fine. But robot parts are different:
Joints: The position relationship between the reducer, engine, and encoder specifically decides the positioning precision. 0.02mm is the standard; high-end prerequisites go down to 0.01mm.
Harmonic drive flexspline: Divider thickness resistance ±0.02mm, roundness ≤0.003mm. One terrible repositioning and it’s scrap.
Dexterous hand joins: Different bores with coaxiality necessities of 0.005mm – nearly inconceivable on 3-axis.
These parts all require exact relative positioning over different headings. A 3-axis machine can, as it were, work on one plane at a time. To alter planes, you have to reposition, and each repositioning implies re-establishing your facility system.
3. How situating mistakes include up on the 3-axis
Some individuals think: machine exactness 0.008mm, reposition 4 times, add up to mistake 0.032mm – possibly acceptable?
It doesn’t work like that. Each repositioning presents mistakes from a few sources: portion re-clamping (±0.01~0.02mm), finding stick clearance (±0.005~0.01mm), revolving table ordering mistake (±0.003~0.008mm), and administrator edge-finding mistake (±0.005~0.01mm).
Total per repositioning: 0.023~0.048mm. After four repositioning steps, the worst case is near 0.2mm.
There are too many covered-up issues: after the initial operation, the remaining push can twist the reference surface. On thin-walled aluminum, a tight clamp can flexibly distort the portion – when you discharge it, the reference moves. That’s why 3-axis robot joints regularly have these issues: each gap measures fine independently, but they tie amid gathering; group generation appears position float from portion #1 to #50.
4. How does 5-axis dodge these problems
The logic of 5-axis is totally distinctive: let the device reach the portion, instead of flipping the portion to reach the tool.

A commonplace joint lodging needs five faces (beat, foot, three sides). On the 3-axis, you stack, machine the beat, empty, flip, machine the foot, empty, side clamp, machine side A, empty, flip once more, machine side B. That’s four setups, four aggregate mistakes. On a 5-axis, you stack once, the table turns, and the device tilts, and all five faces are machined in one go. Zero setups, zero aggregate error.
In commonsense terms, 5-axis understands a few genuine issues: no rehashed finding; brief apparatuses can reach profound highlights by tilting, maintaining a strategic distance from diversion; as it were, one clamping diminishes thin-wall mutilation; the device remains typical to bended surfaces, accomplishing Ra≤0.4μm surface wrap up – no additional polishing.
5. Let’s do the math
Many clients see a 5-axis cite 40–60% higher than 3-axis and think it’s as well costly. But when you see the add up to fetched, it frequently flips.
We compared the same joint lodging (7075 aluminum, group of 500 pieces). On 3-axis, the machining took a toll per portion was ¥210, but the installation took a toll was ¥8500 for three installations, the first article took four endeavors, squandering eight spaces, and the generation efficiency was as it were 72%. On 5-axis, machining took a toll per portion was ¥320, installation took a toll was ¥2800 for one installation, first-article took one endeavor, squandered two spaces, and generation abdicate was 96%.
When you add it all up, the amounts fetched per portion (counting scrap) came out to around ¥350 for 3-axis and almost ¥345 for 5-axis – basically the same, with 5-axis somewhat cheaper. Additionally, the 5-axis first-article took, as it were, one week, whereas the 3-axis took about a month. For an R&D venture, the time spared is worth much more than the machining cost.
6. Which parts completely require a 5-axis
Not each robot portion needs a 5-axis, but if any of the taking after applies, a 3-axis will nearly certainly fail:
Joint lodging: Five or more machined faces with highlights crossing distinctive planes. Repositioning mistakes will blow the position tolerance.
Harmonic drive ring or flexspline: Thin-walled barrel with inner and outside teeth. You require one setup to ensure coaxiality.
RV cycloidal circle: Bended tooth shape that requires normal-direction machining.
Dexterous hand base: Miniaturized scale complex depth with strung gaps at numerous points. Instrument openness is a bad dream on the 3-axis.
Curved connect: Bearing bores on distinctive planes that are not parallel. 3-axis can’t keep up their parallelism in one setup.
Simple run the show of thumb: if your drawing calls for position resilience ≤0.02mm or coaxiality ≤0.008mm, or you require to machine four or more distinctive planes, go straight to 5-axis. Don’t squander time attempting to make it work on a 3-axis.
7. Three questions to inquire about your 5-axis shop
Buying a 5-axis machine doesn’t mean they can do genuine 5-axis work. A few shops still program and work it like a 3-axis. When you’re looking for a provider, ask these three down-to-earth questions:
First: “Do you utilize RTCP on a day-by-day basis?”
RTCP is the center of genuine 5-axis machining. If they can’t clarify it clearly, they’re likely utilizing the machine as a celebrated 3-axis.
Second: “Did you type in your possess post-processor or utilize the manufacturing plant default?”
Shops that compose their claim post-processors ordinarily have profound specialized aptitudes. Those who, as it were, utilize the production line default regularly battle with complex curved surfaces.
Third: “Is your shop temperature-controlled?”
5-axis machines are delicate to temperature. Without temperature control, parts can alter measurement by 0.01mm or more from morning to evening. For a 0.02mm resilience portion, that’s a disaster.
8. The footnote
5-axis getting to be the “standard” for robot parts isn’t a showcasing contrivance from machine apparatus builders. It’s constrained by the precision requirements. 0.02mm position resiliences, 0.005mm coaxiality – you cannot dependably accomplish them in production with 3-axis and repositioning. 5-axis kills the root cause of blunder amassing: one setup, everything done.
If you’re creating a robot, or your joint parts keep coming up short, ask yourself one question: Can this truly be done on a 3-axis?
-
Posted in
5-Axis, 5-axis CNC, 5-axis machining, 5-axis shop, Robot Parts


