
How To Remove Scratches From Stainless Steel Without Damage
Step 1: Assess Scratch Severity
Before you reach for any cleaner or abrasive, pause and size up the scratch. Not all scratches on stainless steel are created equal, and jumping in with the wrong method can make a minor issue much worse. So, how do you get scratches out of stainless steel without risking further damage? It all starts with a careful assessment.
Fingernail and Light Tests to Judge Depth
Imagine you’ve just spotted a mark on your refrigerator or sink. Is it a light scuff or a deep groove? Here’s a simple three-step test to help you decide:
- Fingernail Test: Lightly drag a clean fingernail across the stainless steel scratch. If your nail glides smoothly, it’s likely a surface haze or swirl—classified as light. If your nail catches, the scratch is moderate or deep, meaning you’ll need a more targeted approach.
- Light-Angle Test: Tilt the metal under bright, direct light. Hairline scratches that disappear at certain angles are usually superficial. If the line remains visible from all angles, it’s likely deeper damage that may require more than a simple polish.
- Grain Awareness: Identify the direction of the factory grain (fine, parallel lines) on brushed finishes. Note whether the scratch runs with or across this grain. Working with the grain is crucial to avoid making scratches in stainless steel worse.
Rule of thumb: “If your nail catches, do not jump straight to a coarse grit.”
Spot the Grain and Match It
Most brushed stainless steel has a visible grain. Always match your repair direction to this grain—never work across it. Mirror or polished stainless lacks a visible grain and tends to highlight every imperfection, so extra care is needed. Brushed finishes are more forgiving and allow blending if you follow the grain precisely.
| Severity | Criteria | Recommended Tools | Stop/Next Step Rule |
|---|---|---|---|
| Light | No nail catch; surface haze or swirl | Microfiber, non-abrasive polish, baking soda | If not improved after 2 polish passes, escalate to fine abrasive |
| Moderate | Slight nail catch; single linear mark or scuff set | Fine abrasive pad (with grain), stainless steel polish | If halo or trough remains after refinement, consider pro help |
| Deep | Definite nail catch or visible groove | Staged sanding, blending kit, professional service | Stop if base metal shows or finish thins; pro refinishing may be safer |
When to Stop and Escalate
Set realistic expectations. If a light scratch does not fade after two careful polish passes, it’s time to try a finer abrasive. For moderate scratches, if you see a trough or halo after proper blending, stop—overworking thin stainless can lead to permanent damage. Deep scratches or gouges, especially on thin appliance panels, may require professional refinishing.
- Always test any method in an inconspicuous area first.
- Black stainless may be a coated finish—abrasives can remove the color.
- Check your appliance’s warranty before using abrasive methods.
So, can you remove scratches from stainless steel? Yes, but only if you match your repair method to the scratch severity and finish type. Taking these assessment steps sets you up for success and helps you avoid common pitfalls when learning how to take scratches out of stainless steel.
Step 2: Prepare and Protect the Work Area
Before you even think about tackling those scratches, preparation is your secret weapon. Imagine spending time buffing only to realize you’ve spread grit or left a new mark—frustrating, right? Let’s make sure your efforts pay off by prepping your work area and surface the right way. This step is essential whether you’re learning how to polish stainless steel for shine or how to clean scratches from stainless steel for a like-new finish.
Clean SS the Right Way Before You Start
Sounds simple, but a spotless surface is the foundation for effective scratch removal. Dirt, grease, or even fingerprints can trap particles that create new scratches as you work. Here’s how to get your stainless ready:
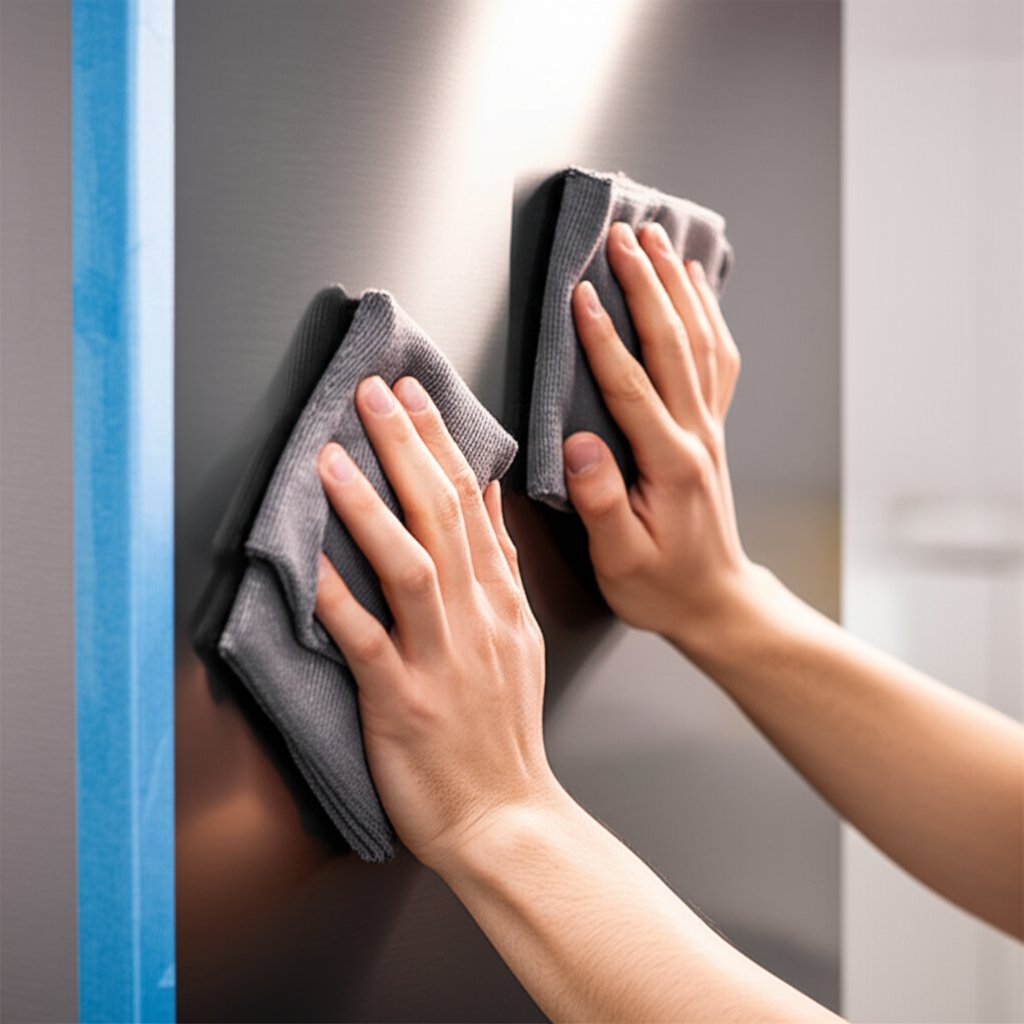
- Degrease Thoroughly: Mix a few drops of mild dish soap with warm water. Dampen a microfiber cloth, wipe the surface along the grain, and rinse with clean water. Dry with a lint-free towel to avoid water spots [source].
- Inspect for Residue: Check for leftover grime, especially around handles or seams. Any residue can interfere with stainless polish or repair compounds.
- Remove Fingerprints: Use a clean, dry microfiber to buff away any remaining smudges—especially important on fingerprint proof stainless steel finishes.
Masking and Lighting for Precision
Ever noticed how pros never accidentally polish a logo or round off a crisp edge? That’s because they mask and light their work area for control and accuracy.
- Mask Vulnerable Areas: Use painter’s tape to protect edges, logos, and seams. This prevents accidental rounding and keeps polish or abrasives exactly where you want them.
- Set Up Good Lighting: Position a bright, raking light at an angle to the surface. This reveals fine scratches and helps you track progress without overworking any spot.
Warranty-Safe Spot Testing
Some appliances have strict warranty rules, especially when it comes to abrasive products or third-party stainless steel polish. Here’s how to avoid costly mistakes:
- Check Documentation: Review your owner’s manual or manufacturer’s website for cleaning and scratch repair guidance.
- Spot-Test First: Before using any new product or technique, test it inside a door edge or behind a handle—an inconspicuous spot. This ensures compatibility and helps you avoid visible mishaps.
Always move with the grain on brushed stainless.
| Prep Checklist | Why It Matters |
|---|---|
| Clean and degrease | Prevents new scratches from trapped grit |
| Mask edges and logos | Protects details from accidental abrasion |
| Identify finish type | Ensures you use the correct technique (brushed, mirror, or coated) |
| Set up lighting | Reveals hidden scratches and tracks your progress |
| Spot-test products | Prevents damage and preserves your warranty |
| Plan grit/polish sequence | Avoids over-thinning and keeps repair controlled |
| Set a time limit per pass | Prevents overheating and overworking the finish |
- Cut-resistant gloves (if sanding)
- Eye protection
- Well-ventilated area (if using compounds)
Remember, if residue streaks appear during polishing, pause and re-clean the area before continuing. This small step can prevent dragging contaminants and creating new marks—especially important when learning how to clean scratches on stainless steel or how to polish ss for a flawless result.
With your surface prepped and protected, you’re ready to move on to removing those light scratches with confidence. Next, discover gentle methods that restore shine without risking your appliance’s finish or warranty.
Step 3: Remove Light Scratches with Gentle Methods
Noticed a faint line or swirl on your fridge or sink and wondering how to remove scratches from stainless steel without making things worse? Good news: light surface marks can often be erased with a few careful, non-abrasive steps. Let’s walk through the safest and most effective ways to remove scratches from stainless steel and bring back that flawless finish.
Polish Pass First for Light Marks
Start simple. A mild, stainless-safe polish is your first line of defense against light scratches. This approach is ideal for those subtle swirls or hazy spots that don’t catch your fingernail. Here’s how to get rid of scratches on stainless steel using this method:
- Apply a small amount of stainless steel polish or a non-abrasive cleaner to a soft, clean microfiber cloth. (Products like Bar Keepers Friend or Method Stainless Steel Clean + Polish are great options.)
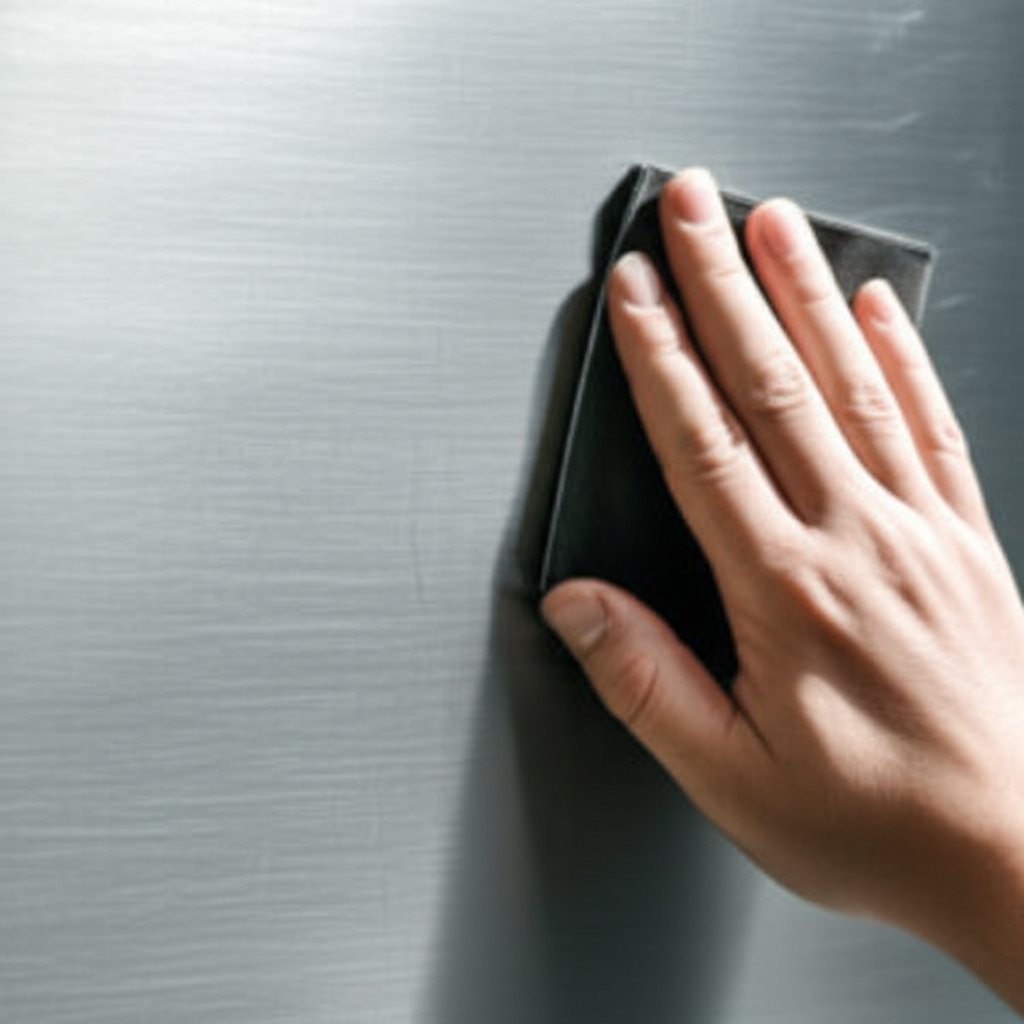
- Rub gently along the direction of the grain (for brushed finishes) or in small, overlapping circles (for mirror finishes). Use light, even pressure—think of it as buffing, not scrubbing.
- Make 10–15 controlled strokes, then wipe the area clean with a fresh microfiber cloth.
- Inspect the surface under angled light. If the mark is gone, you’re done! If it’s still visible, repeat the process once more.
Two light passes beat one heavy pass—gentle repetition is safer than aggressive scrubbing.
Baking Soda Paste for Subtle Swirls
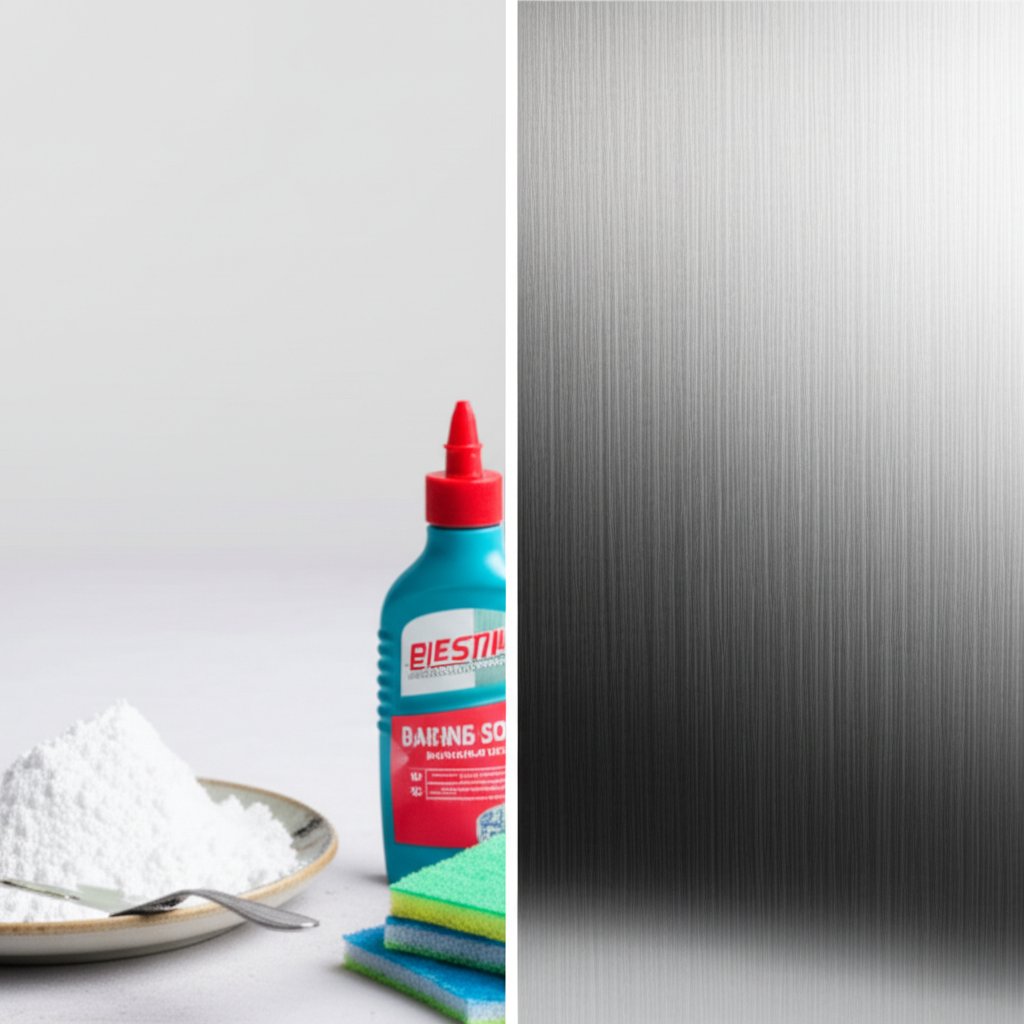
If the light polish didn’t fully erase the mark, try a DIY solution: baking soda for scratches. Baking soda’s gentle abrasiveness makes it ideal for removing scratches from stainless steel without harming the finish. Here’s the workflow:
- Mix baking soda with a few drops of water to form a spreadable paste (about 1:1 ratio).
- Apply the paste to the scratched area using a clean microfiber cloth.
- For brushed stainless, rub in the direction of the grain. For mirror finishes, use small, gentle circles.
- Rinse thoroughly with clean water and dry with a fresh microfiber towel.
- Repeat if needed, but don’t overdo it—minimal pressure is key.
This method is especially helpful for those learning how to buff scratches out of stainless steel with household ingredients. Afterward, you can apply a thin layer of stainless-friendly protectant to help disguise any remaining micro-swirl and make future cleaning easier.
- Do not use steel wool—too abrasive!
- Do not use harsh chlorides or bleach—they can discolor or corrode stainless.
- Do not use oil-based hacks on fingerprint-resistant coatings—they may leave smears.
When to Escalate to Ultrafine Abrasives
If you’ve tried both polish and baking soda paste for scratches and the mark still lingers, it may be time to carefully escalate. Use an ultrafine non-woven finishing pad (labeled “very fine”) and repeat the buffing motion with minimal pressure. Always follow the grain, and stop to inspect after a few passes. If the scratch improves, finish with a polish pass for uniform sheen.
Remember, the goal is to refine—not remove—material. Overworking the area risks thinning the finish or creating new marks. If you’re unsure, it’s better to stop and consult a pro than to risk permanent damage. With these gentle methods, removing scratches from stainless steel is both safe and effective, setting you up for success with moderate and deeper repairs in the next steps.
Step 4: Buff Out Moderate Scratches on Brushed Stainless Steel
When you notice a scratch that your fingernail just catches—too deep for a simple polish but not a full gouge—don’t worry. You can buff out scratches on stainless steel with the right approach, especially on brushed finishes. The secret? Controlled grit progression, strict grain matching, and a gentle, methodical touch.
Pick the Right Starting Grit
Sounds complex? It’s simpler than you think. The goal is to remove the scratch without making the area look worse or thinning the metal. Always begin with the finest grit that can still make progress—think of it as working your way up, not down. For most moderate scratches in brushed stainless, start with 800 or 1200 grit sandpaper. Only drop to a coarser grit (like 400) if the scratch is stubborn and lighter attempts haven’t worked.
- Clean the area thoroughly (as described in Step 2).
- Wet the sandpaper and the surface—wet sanding reduces heat and prevents deeper scratches.
- Sand in long, straight strokes, always following the direction of the existing grain.
- After several passes, wipe the area clean with a microfiber towel and inspect under angled light.
- If the scratch is fading, move to the next finer grit (e.g., from 800 to 1200, then 2000, then 3000).
- Continue refining until the repair blends smoothly with the surrounding finish.
| Grit Step | Purpose | Visible Result |
|---|---|---|
| 800 grit | Remove moderate scratches, start blending | Satin, visible grain, scratch fades |
| 1200 grit | Refine texture, erase coarser marks | Smoother, more uniform appearance |
| 2000 grit | Pre-polish, soften transitions | Subtle, almost-matte finish |
| 3000 grit | Final wet sand before buffing | Even, nearly original grain |
Grain-Matched Strokes to Blend Seamlessly
Imagine painting a wall—if you go against the pattern, it stands out. The same goes for stainless. Always sand and buff in the direction of the grain, overlapping each pass slightly to avoid flat spots. Use consistent, gentle pressure and count your strokes to keep the finish even. If you’re trying to buff out scratches stainless steel surfaces often develop, patience and precision are your best tools.
Widen the blend, don’t deepen the groove.
Refine and Polish for Uniform Sheen
Once the scratch and sanding marks have faded, it’s time to restore the luster. Apply a stainless polishing compound to a clean microfiber cloth. Buff in-grain with light, even pressure, working until the repaired area matches the rest of the surface. If you notice a halo or dull spot, don’t press harder—instead, gently expand your blending area by 10–20%. This helps the repair disappear into the original finish rather than creating a visible patch.
- Rinse or wipe between grits to remove abrasive particles.
- Stop immediately if you see color changes, excessive shine, or if the surface feels thin—these are signs to pause and reassess.
- Buff scratches out of stainless steel with a light touch; overworking can do more harm than good.
By following this methodical approach, you’ll learn not just how to buff out scratches on stainless steel, but how to fix scratches on stainless steel without risking the integrity of your appliance or countertop. Ready to take on deeper marks or sink scratches? Next, we’ll cover escalation techniques and when it’s time to call in a pro.
Step 5: Tackle Deep Scratches and Stainless Sinks
Ever discovered a deep scratch or a scuffed sink bottom and wondered, “Can I really fix this myself?” When it comes to how to remove deep scratches from stainless steel, especially in sinks or heavy-use areas, the approach changes. Let’s break down how to safely tackle these tougher marks and know when it’s smarter to call in a professional.
Escalation Path for Deep Marks
Deep grooves and heavy stainless steel sink scratches require more than a polish—they call for a methodical, step-by-step process. Here’s a simple decision tree to guide your next move:
- Identify the depth and location: Is the scratch on a thick sink basin or a thin appliance panel?
- If it’s in a sink (thicker steel): Proceed with careful sanding and blending. Sinks can tolerate more abrasion and blending than thin fridge doors or oven panels.
- If it’s a deep gouge on a thin appliance panel: Attempt only minimal blending. If a trough remains or the finish begins to distort, stop and consider professional stainless steel scratch repair or panel replacement.
- Always work with the grain: If the scratch runs across the grain or you see distortion, halt—blending across the grain can create a visible patch that’s difficult to disguise.
- After each step: Inspect for shiny spots (which signal overworked grain or a mirror finish) and discoloration. If either appears, switch to polishing the surrounding area or stop to avoid further damage.
Deep gouges may reduce but not vanish on thin panels.
Sink-Specific Blending Techniques
Stainless sinks are more forgiving than appliances because of their thicker gauge. If you want to remove scratches from stainless steel sink surfaces, follow these practical steps for best results:
- Clean thoroughly: Remove all grease and debris. Even tiny particles can cause new marks as you work.
- Feather the edges: Use wet/dry sandpaper (start with 400–600 grit) and gently sand the scratch along the grain. Feather the edges so the repair blends into the surrounding finish.
- Refine gradually: Move up to finer grits (800–1000, then 2000 or higher), wiping away residue between steps. This gradual approach helps ensure the scratch fades without creating a trough.
- Use a stainless steel repair kit: For stubborn or widespread marks, a kit with graded abrasive pads and a finishing compound can help maintain a consistent finish across the sink.
- Finish with a non-woven pad: Always end with a fine non-woven pad to unify the grain and restore the original texture. Follow up with a stainless polish for added sheen.
- Abrasive pads (various grits, 400–3000)
- Wet/dry sandpaper
- Stainless steel compound or polish
- Microfiber cloths
- Non-woven finishing pads
For a real-world example, one DIYer used a combination of Autosol metal polish and mechanical buffers to restore a dull, scratched sink in about an hour—proving that how to get scratches out of stainless steel sink is possible with patience and the right tools.
Know When to Seek a Pro
Sometimes, even after careful remove scratches from stainless sink efforts, a visible groove or distortion remains—especially on thin or highly polished panels. Here’s when to consider professional help:
- The scratch crosses the grain or creates a visible patch.
- Sanding produces a shiny spot, signaling over-thinned or mirror finish.
- Discoloration appears after abrasion (could be heat or chemical residue).
- You’re unsure about the finish type or worried about warranty coverage.
Professional stainless steel scratch repair services use specialized equipment and expertise to tackle deep marks without risking further harm. And if you’re left wondering, “How do I remove scratches from stainless steel sink when nothing works?”—sometimes the most cost-effective and stress-free answer is to let an expert take over [source].
With these escalation and blending techniques, you’re equipped to restore your sink or appliance—while knowing when to stop and seek help. Next, let’s match your scratch-removal method to the specific finish, so your repair blends seamlessly with the rest of your stainless steel.
Step 6: Match Your Technique to the Stainless Finish
Ever wondered why some scratch repairs blend in perfectly, while others leave a noticeable patch? The answer lies in matching your method to the stainless steel finish. Whether you’re working on a high-gloss refrigerator, a classic brushed sink, or a trendy black stainless appliance, the approach you take can make or break your results. Let’s break down how to polish scratched stainless steel and restore your surfaces without introducing new problems.
| Finish Type | Recommended Method | Do's | Don'ts | Likely Outcome |
|---|---|---|---|---|
| Mirror/Polished | Ultra-fine abrasives or polishing compound; hand-buff in micro-circles |
|
|
Scratch becomes less visible; wide blending hides correction; finish restored, but may require patience |
| Brushed | Grain-matched sanding, finishing pad, polish |
|
|
Repair blends into grain; texture and luster restored; minimal visible patch if done carefully |
| Black Stainless | Gentle polish pass only; avoid abrasives; consult manufacturer if needed |
|
|
Light marks may fade; deep scratches can expose base steel; professional help often required for restoration |
Mirror Finish Protocol Without Haze
Mirror or polished stainless is stunning—but every flaw stands out. If you need to know how to polish scratches out of stainless steel with a mirror finish, skip visible-grit sandpaper and reach for a dedicated stainless steel polishing compound. Here’s a quick workflow:
- Clean the area thoroughly and dry completely.
- Apply a small amount of ultra-fine polishing compound to a soft microfiber cloth.
- Buff the scratch in small, overlapping circles, feathering over a wide area to blend the repair and avoid creating visible swirls.
- Wipe clean, inspect under angled light, and repeat if needed. For stubborn marks, a second pass may help.
- If haze appears, lightly buff the entire area to even out the sheen.
This method is essential for true stainless steel restoration on high-gloss appliances or furniture. If you’re wondering how to re polish stainless steel for a uniform look, this protocol minimizes haze and blends repairs smoothly.
Brushed Finish Grain Rebuild
When working with brushed stainless, always match your sanding and polishing strokes to the factory grain. Use fine sandpaper or non-woven finishing pads to gently erase the scratch, then finish with a stainless steel polish. This approach helps you polish scratched stainless steel so the repair blends seamlessly. After sanding, a finishing pad can restore the linear grain, and a final polish brings back the subtle luster.
Black Stainless Coating Cautions
Black stainless steel scratch repair is a different game. Most black stainless finishes are actually a tinted or coated layer over standard stainless. Abrasive pads or sandpaper can strip this coating, revealing bright steel that stands out. If you’re dealing with a fingerprint proof stainless finish, avoid sanding entirely—try a gentle polish in a hidden spot first. If the scratch persists or exposes metal, consult the manufacturer or a pro for advice.
Treat black stainless as coated unless confirmed otherwise.
After any repair, consider applying a stainless-friendly protectant. This not only enhances shine but also helps resist fingerprints and future marks—especially important for fingerprint proof stainless appliances. By matching your method to the finish, you’ll achieve the best results and extend the life of your stainless steel surfaces. Up next, we’ll compare DIY and professional options so you can choose the smartest path for your next restoration project.
Step 7: Compare DIY Methods and Professional Options
Ever stood in front of a scratch dent refrigerator or a stubborn mark on your range, wondering which fix is actually worth your time? When it comes to removing scratches from stainless steel, you have a spectrum of choices—from kitchen pantry pastes to specialized stainless steel scratch remover kits, all the way to professional fabrication or part replacement. Let’s break down what actually works, where each method shines, and when it’s smarter to call in the pros.
When DIY Stops Making Sense
Imagine you’ve tried a stainless steel scratch remover or a rejuvenate stainless steel scratch eraser kit, but the scratch is still there—or worse, the finish looks patchy. That’s a common scenario, especially on thin appliance panels or coated finishes. In these cases, over-sanding or repeated attempts can thin the metal or permanently alter the appearance. Sometimes, the smartest move is to step back and consider professional options—especially if you’re dealing with a deep scratch or planning to restore a consistent look across multiple surfaces.
Comparing Kits, Compounds, and Pro Fabrication
| Option | Features | Effort | Finish Suitability | Pros | Cons | Typical Outcome |
|---|---|---|---|---|---|---|
| XTJ Rapid Prototyping & Professional Fabrication | Custom CNC machining, over 50 metal/plastic materials, ISO-certified quality, DFM feedback for scratch-resistant design, rapid turnaround | Low (outsourced) | All finishes (brushed, mirror, black, custom parts) |
|
|
Factory-quality restoration; ideal for scratch remover stainless steel appliances or custom upgrades |
| Baking Soda Paste (DIY) | Mix baking soda and water into a paste; gentle abrasive for light scratches | Very low | Brushed, some mirror; not for black or coated finishes |
|
|
Removes haze and small scuffs; not a true stainless steel scratch remover for deeper marks |
| Commercial Polish or Scratch Remover Kits | Includes abrasives, compounds, pads (e.g., Rejuvenate, Scratch-B-Gone, ScratchPro) | Low to moderate | Brushed, some sinks; limited for mirror, not for black or most appliance panels |
|
|
Can hide light scuffs; mixed results on moderate scratches; not a true fix for a scratch dent refrigerator |
| Abrasive Progression + Compound (Manual) | Wet/dry sandpaper (400–3000 grit), non-woven pads, stainless polish | Moderate to high (skill required) | Brushed, sinks; not for thin or coated panels |
|
|
Good for sinks and utility surfaces; not for visible, thin appliance faces |
Designing for Durability Next Time
Imagine never worrying about scratches again. If you’re replacing a panel or designing a custom part, professional fabrication services like XTJ can help you select materials and finishes that are more resistant to scratching—think of it as building in protection from the start. Their DFM (Design for Manufacturability) feedback ensures your new stainless surface is not only beautiful but also practical for everyday use.
For deep or unrepairable scratches—especially on thin panels—replacement or professional fabrication often delivers better, longer-lasting results than repeated DIY attempts.
So, whether you’re weighing the best stainless steel scratch remover, a DIY kit, or a full replacement, use this comparison to make the right call for your appliance, sink, or custom project. Next, we’ll cover how to lock in your results and prevent future scratches, so your stainless steel stays flawless for years to come.
Step 8: Troubleshoot, Prevent, and Know When to Escalate
Troubleshooting Cloudiness and Halos
Ever finished a careful scratch repair only to notice the area looks hazy or the scratch is still visible? You’re not alone. Knowing how to remove scuffs from stainless steel means being ready to troubleshoot the unexpected. Here’s a practical workflow to get your surface back on track:
- Spot Cloudiness or Streaks? Pause and re-clean the area with a fresh microfiber cloth and a stainless-friendly cleaner. Sometimes, residue from polish or abrasive pads can cause haze.
- Persistent Haze? Try a quick, finer-grit refinement—use a very fine non-woven pad or high-grit sandpaper (2000–3000), working gently with the grain. Then repolish for uniform shine.
- Groove Won’t Disappear? If a groove remains after careful blending, stop. Overworking can thin the metal or alter the finish. Assess the thickness and type—especially on thin appliance panels or coated finishes.
- Finish Looks Uneven? If the repaired area is shinier, duller, or the grain is missing, feather outward with your final pad or polish to blend. On fingerprint-resistant or black stainless, less is more—avoid aggressive methods.
- Still Not Satisfied? Sometimes, no matter how many times you try, you can’t get scratches out of stainless steel refrigerator doors or thin panels without creating a patch. That’s your cue to consider professional help or replacement.
Simple Habits to Prevent New Scratches
Imagine never having to search for how to eliminate scratches on stainless steel appliances again. Prevention is your best defense! Here are some habits and tips to keep your surfaces looking their best:
- Always use soft sponges or microfiber cloths for cleaning—avoid steel wool or abrasive pads.
- Steer clear of chlorine-based cleaners, which can corrode and scratch stainless steel.
- Add protective mats or grids to sinks to cushion dropped utensils and prevent scuffs.
- Apply a stainless-friendly protectant regularly to reduce visible swirls and make your fridge more fingerprint proof.
- For kitchen tools, choose utensils with rounded edges and store them in dedicated organizers to avoid accidental scratches.
- Document before/after photos and keep product labels if you ever need to make a warranty claim.
By following these habits, you’ll not only prevent new marks but also make it much easier to hide scratches on stainless steel fridge doors and other appliances.
When Replacement Beats Repair
Sometimes, despite your best efforts, a scratch just won’t blend—or maybe repeated attempts have left the finish looking patchy. You might wonder, can you buff scratches out of stainless steel every time? The answer: Not always, especially on thin, coated, or fingerprint-resistant panels. In these cases, it’s smarter to stop early and consider a replacement or professional fabrication.
For deep gouges or when the finish consistency changes, replacement panels or custom guards can restore your appliance to a like-new look. XTJ Rapid Prototyping Services offers custom CNC machining and finishing for stainless steel parts—including refrigerator doors, trim, and kitchen upgrades. Their engineers provide free DFM feedback to help you select finishes and designs that resist scratches in the future, so you spend less time worrying about how to fix scratches on stainless steel fridge surfaces and more time enjoying a flawless kitchen.
Stop early, protect the grain, and escalate before you over-thin.
So, can you get a scratch out of stainless steel every time? Sometimes—if you match your method to the scratch and finish, and know when to let go. For persistent marks or when you want a truly seamless result, professional repair or replacement is the best path forward. With these troubleshooting and prevention strategies, you’ll keep your stainless steel surfaces looking their best, and you’ll know exactly when it’s time to call in the pros or upgrade to a more durable, scratch-resistant solution.
Frequently Asked Questions
1. Does WD-40 remove scratches from stainless steel?
WD-40 can help minimize the appearance of minor scratches and add shine to stainless steel surfaces. For best results, apply a small amount to a soft cloth and gently rub in the direction of the grain. However, always test in a hidden spot first, as some finishes—especially fingerprint-resistant or coated stainless—may react differently. For deeper scratches, more specialized methods or products are recommended.
2. Will T-Cut remove scratches from stainless steel?
T-Cut is a metal polish that can reduce light scratches on stainless steel. It works well for superficial marks but is less effective on deeper grooves. To use, apply with a non-abrasive cloth and buff in the grain direction. Always spot-test first to ensure compatibility with your specific finish, especially on black or coated stainless steel.
3. Can you get scratches out of stainless steel appliances at home?
Yes, many light and moderate scratches can be removed at home using non-abrasive polish, baking soda paste, or specialized scratch remover kits. Always start with the gentlest method and escalate only if needed. For deep scratches or if the finish is coated, consider professional repair or replacement to avoid further damage.
4. What is the best way to remove scratches from a stainless steel sink?
For stainless steel sinks, start by cleaning thoroughly, then use wet/dry sandpaper with progressively finer grits, always sanding with the grain. Finish with a non-woven pad and stainless steel polish for a uniform look. Deep scratches may require a repair kit or professional service if blending does not restore the finish.
5. When should I consider professional help or replacement for stainless steel scratches?
If a scratch is deep, crosses the grain, or repeated DIY attempts leave the area looking patchy or thin, it’s best to seek professional help. Replacement or custom fabrication—like services from XTJ Rapid Prototyping—may be the most reliable solution for restoring the original appearance, especially on thin appliance panels or when a flawless finish is essential.
-
Posted in
appliance care, remove scratches stainless steel, sink scratch removal, stainless steel maintenance, stainless steel scratch repair


